


RIV1EVRMRBR1T25.2
$899.95 On Sale $899.95
SLIDERS:
2021-2024 R1T Backordered, ETA Aug (2025-Present R1T In Stock!)
2025-Present R1S Backordered, ETA Aug (2022-2024 R1S In Stock!)
RUNNING BOARDS:
R1T and R1S IN STOCK
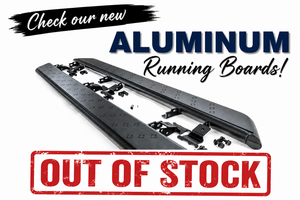
Hey, check-out our NEW Aluminum Version HERE - in Stock!
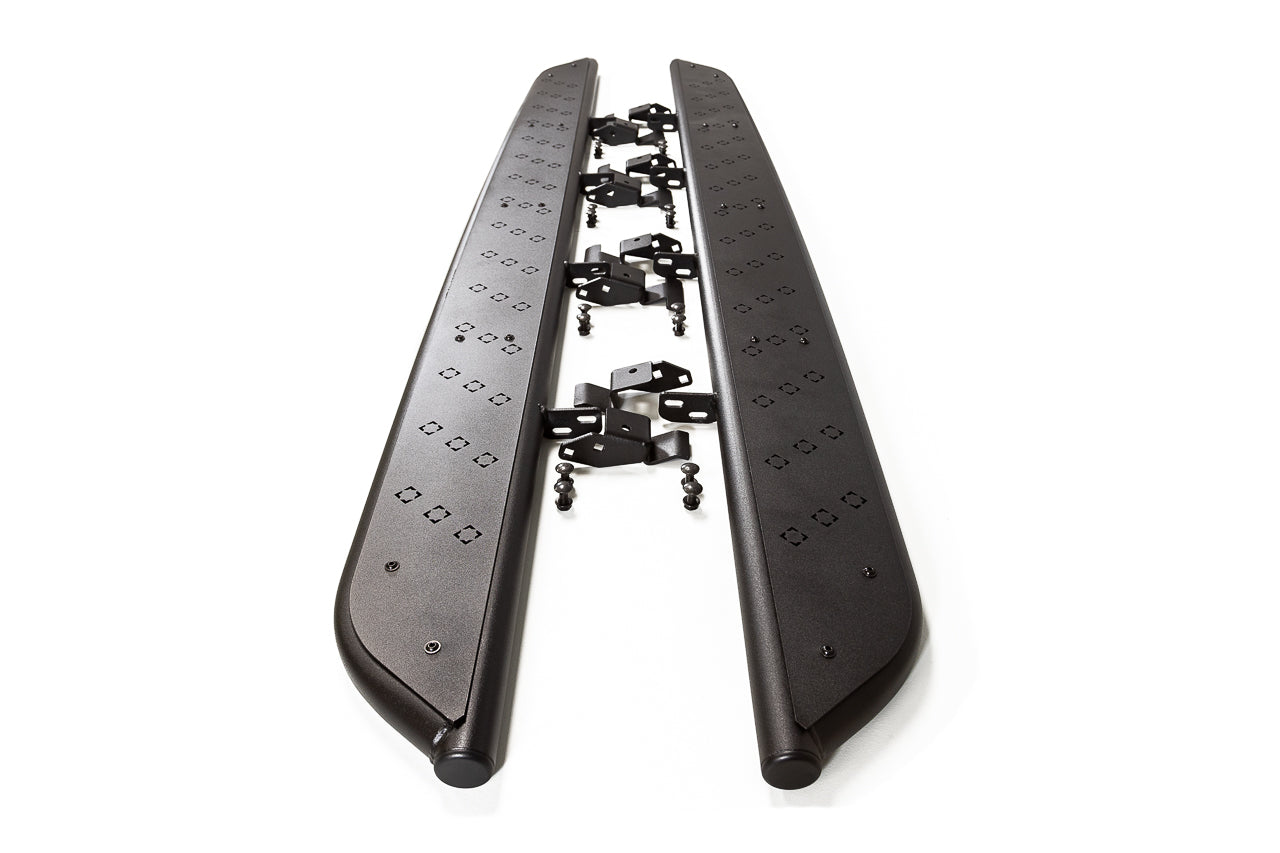
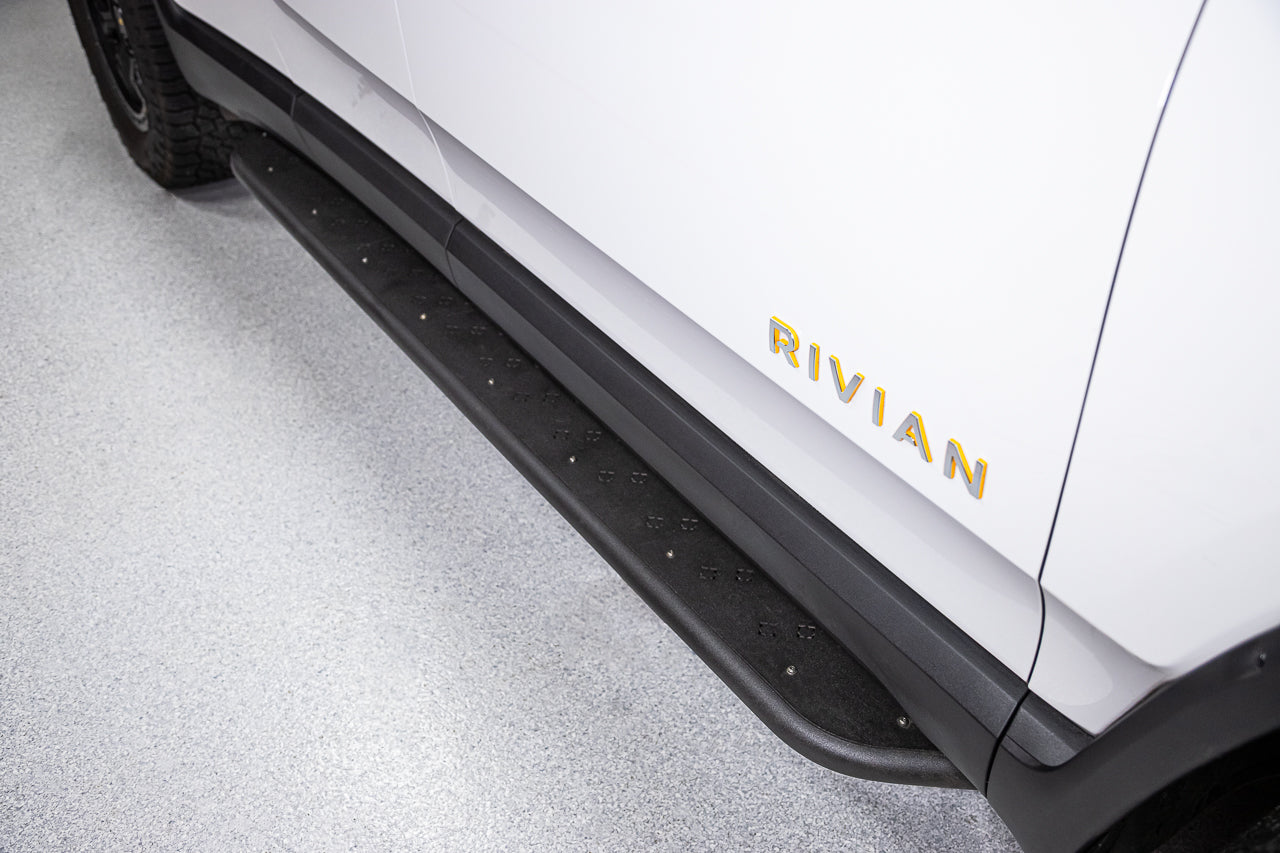
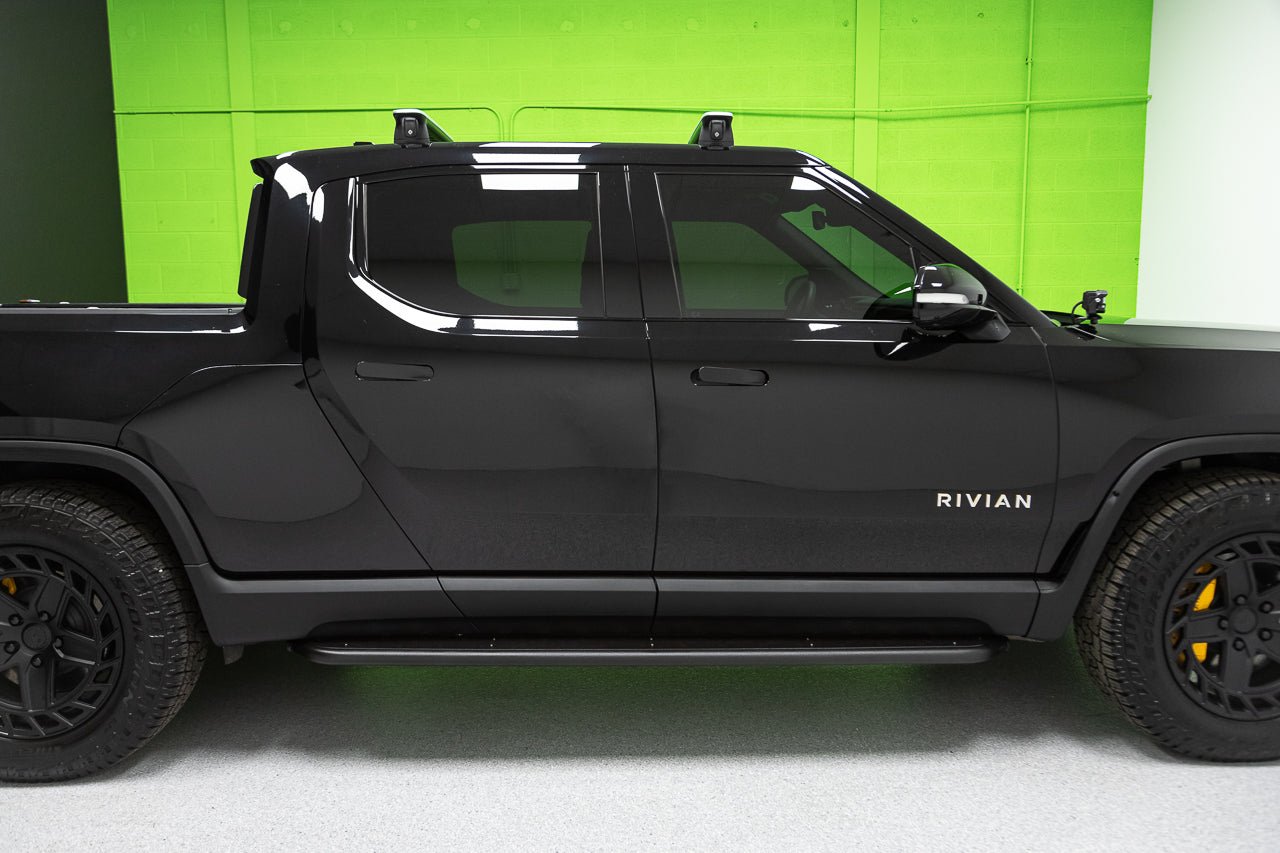
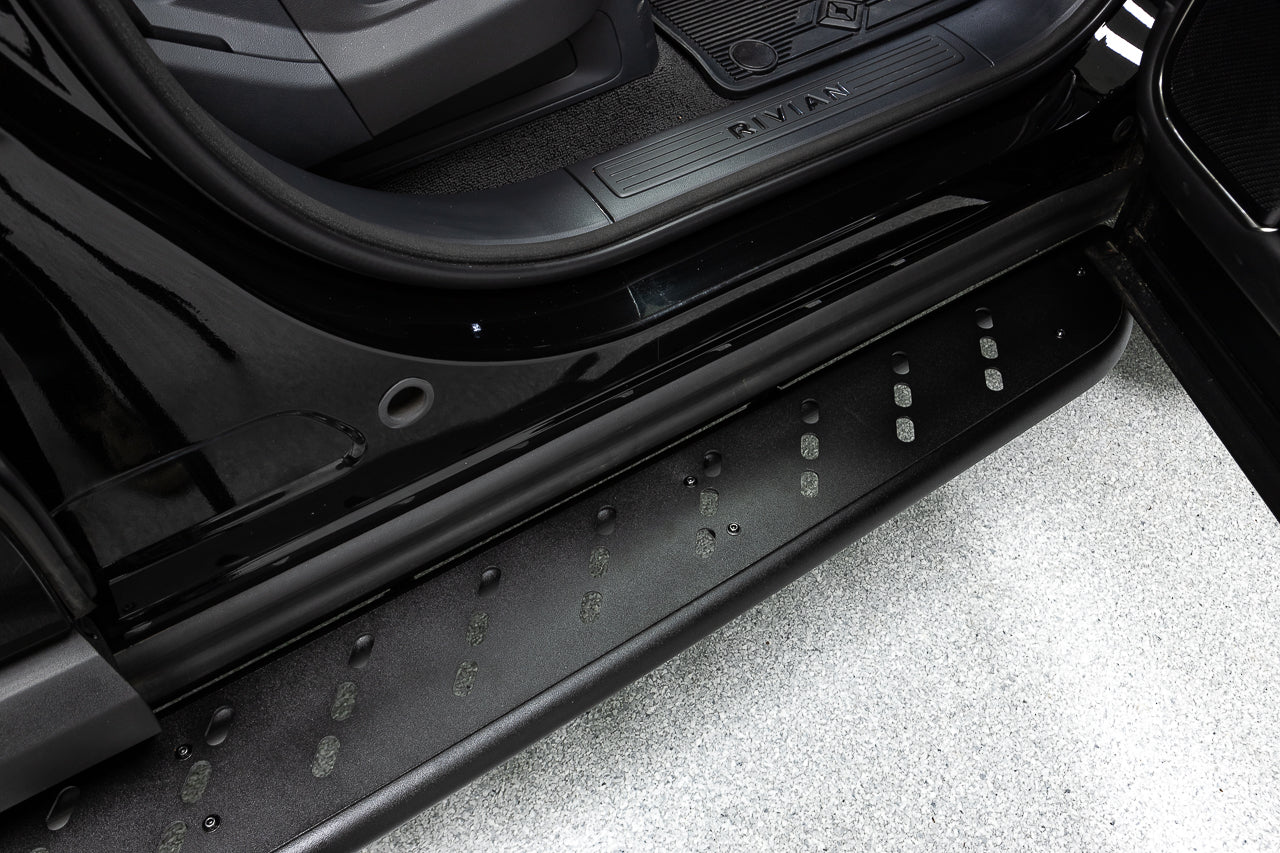
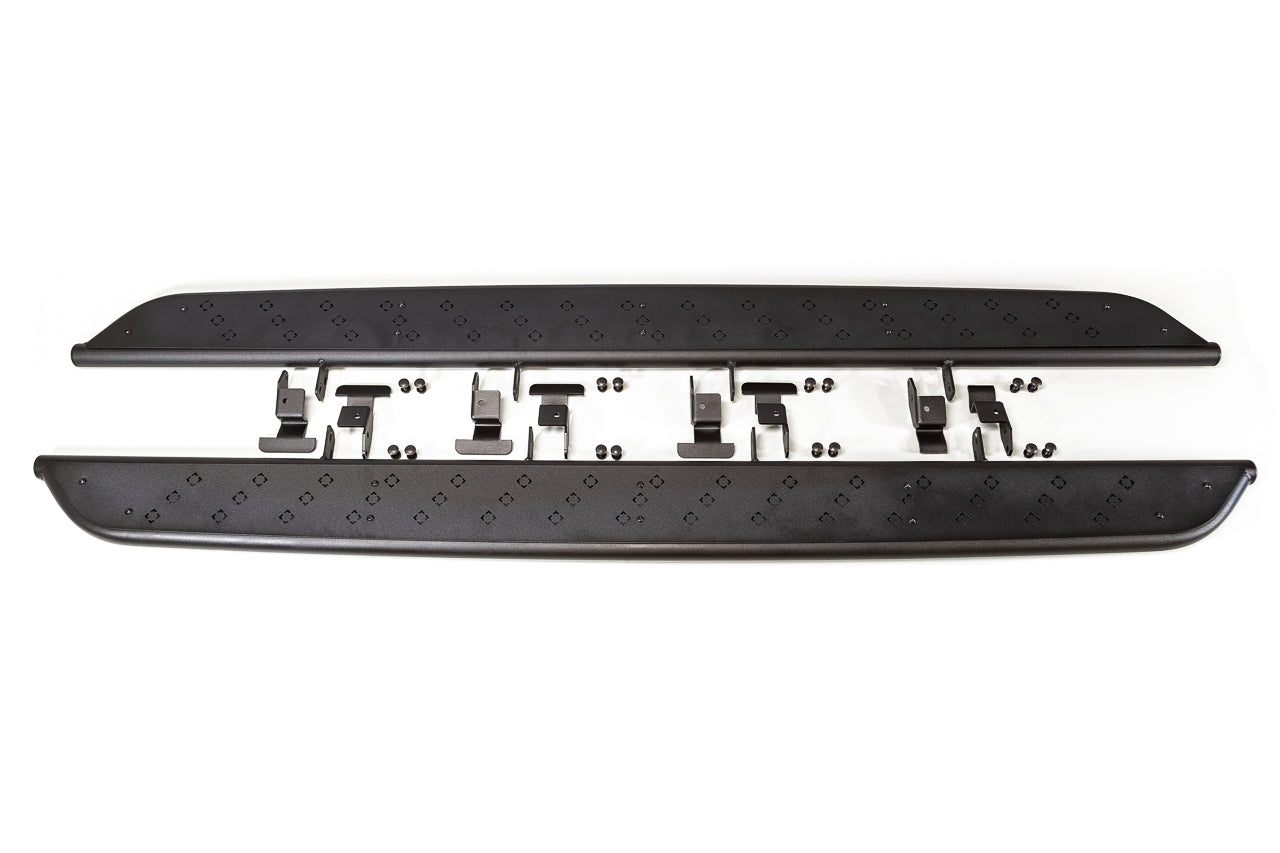
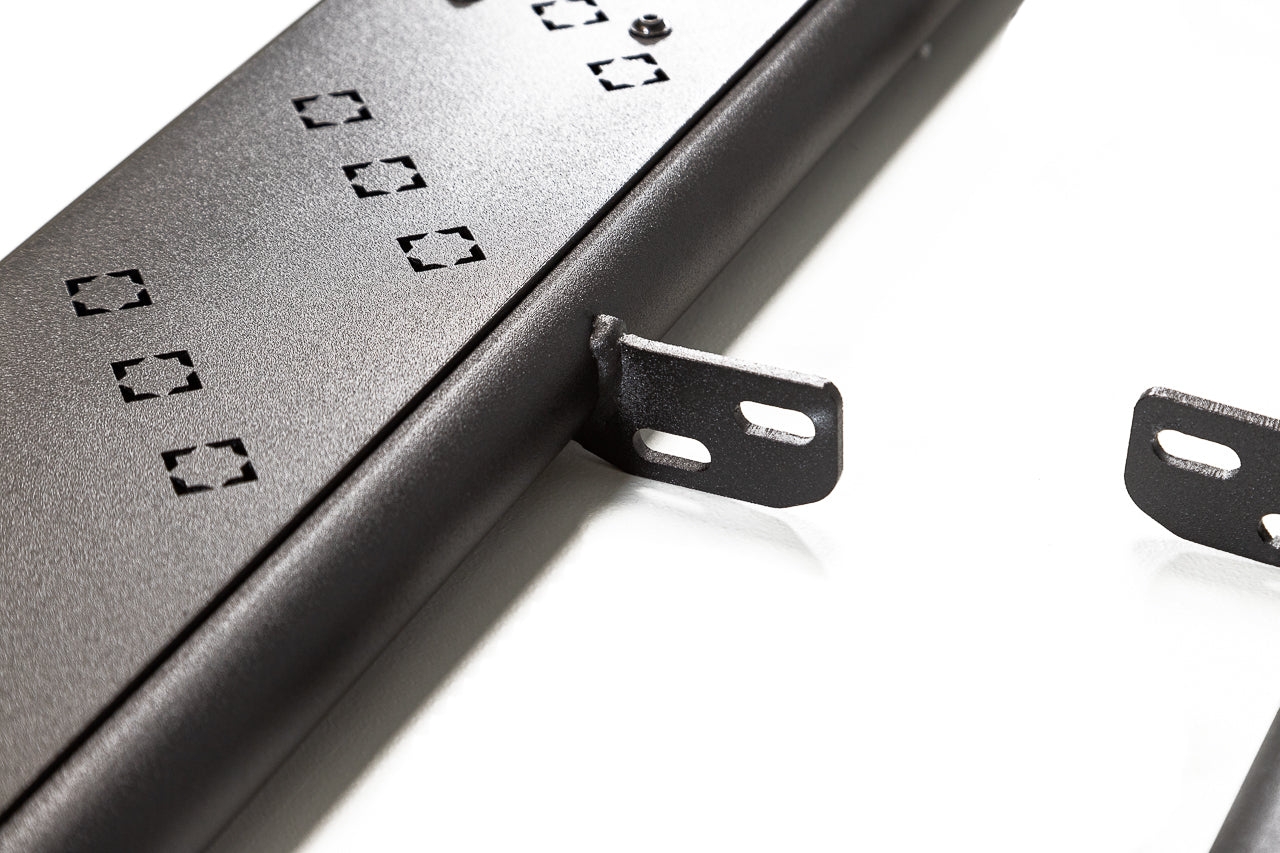
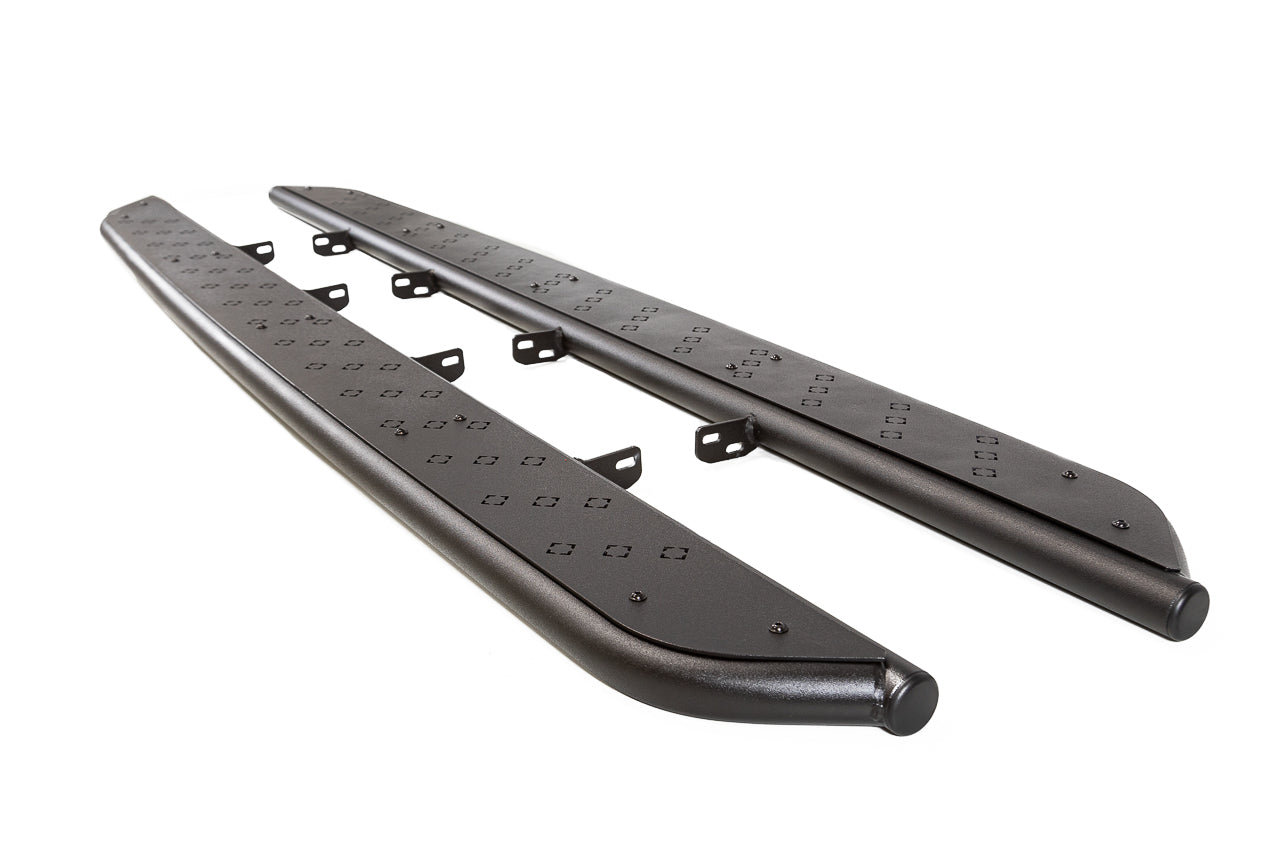
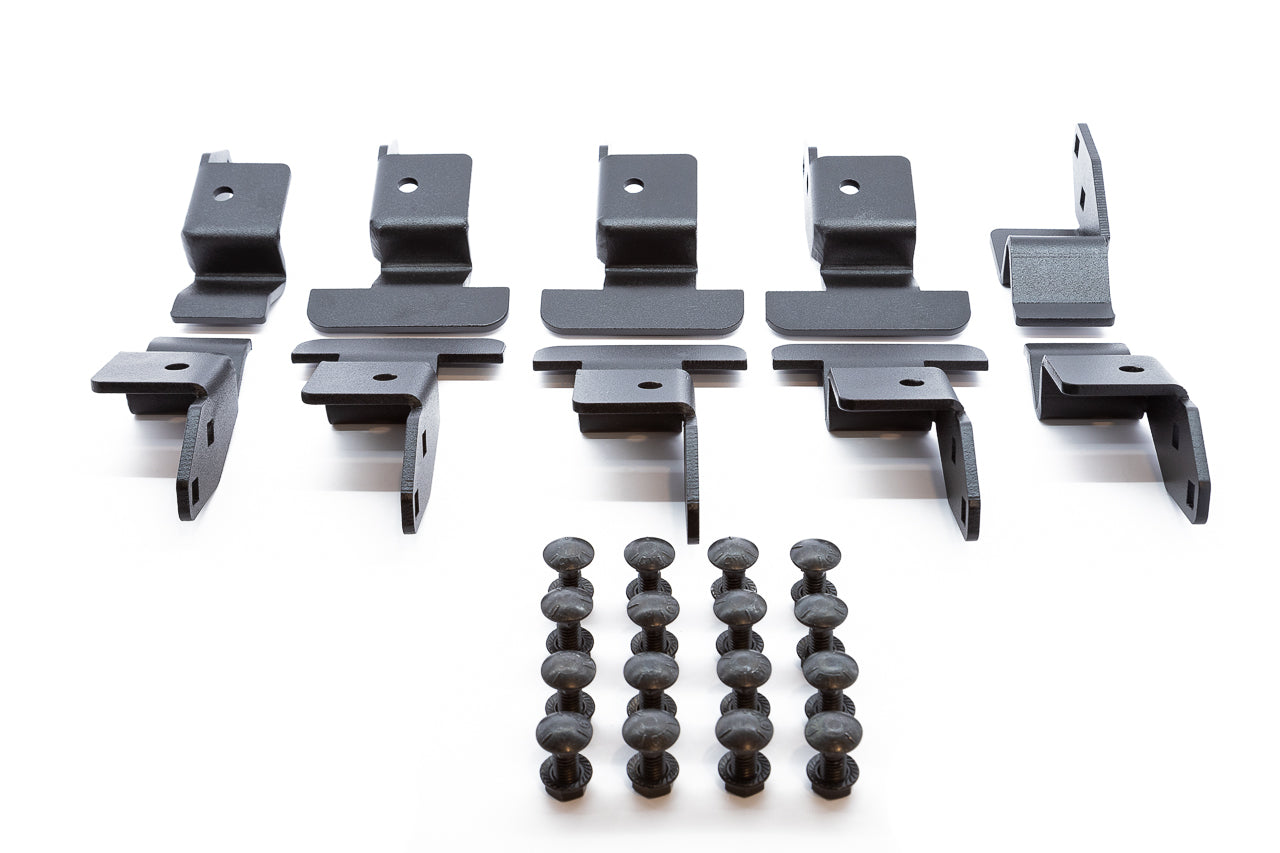
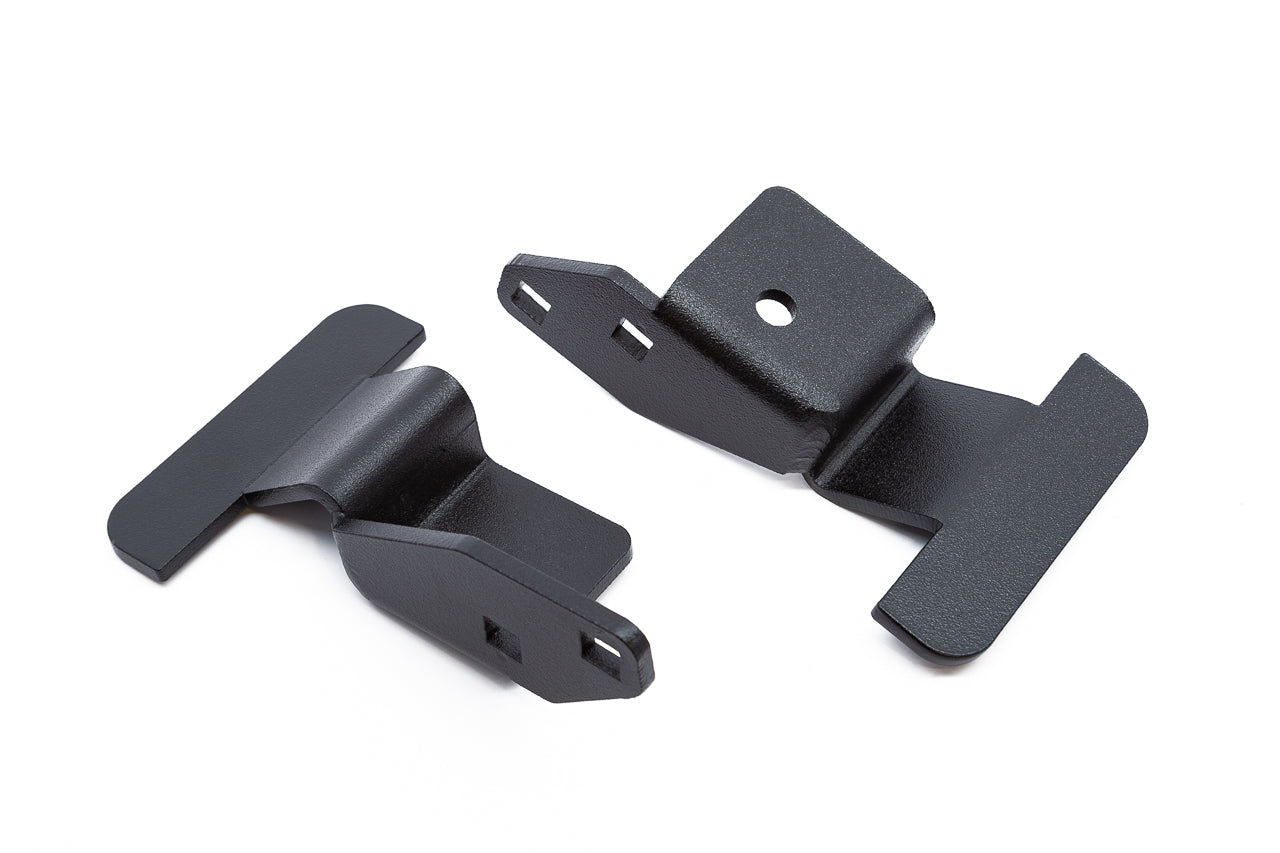
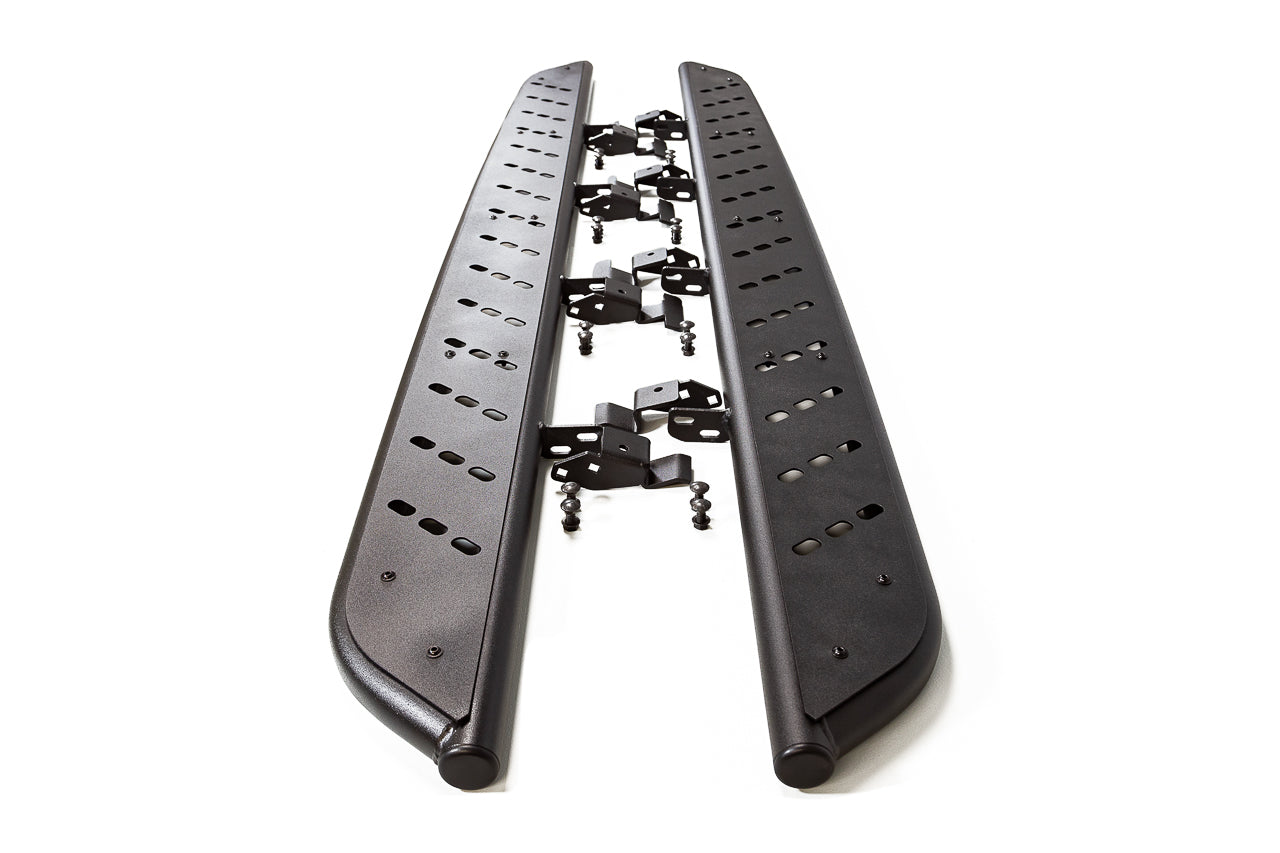
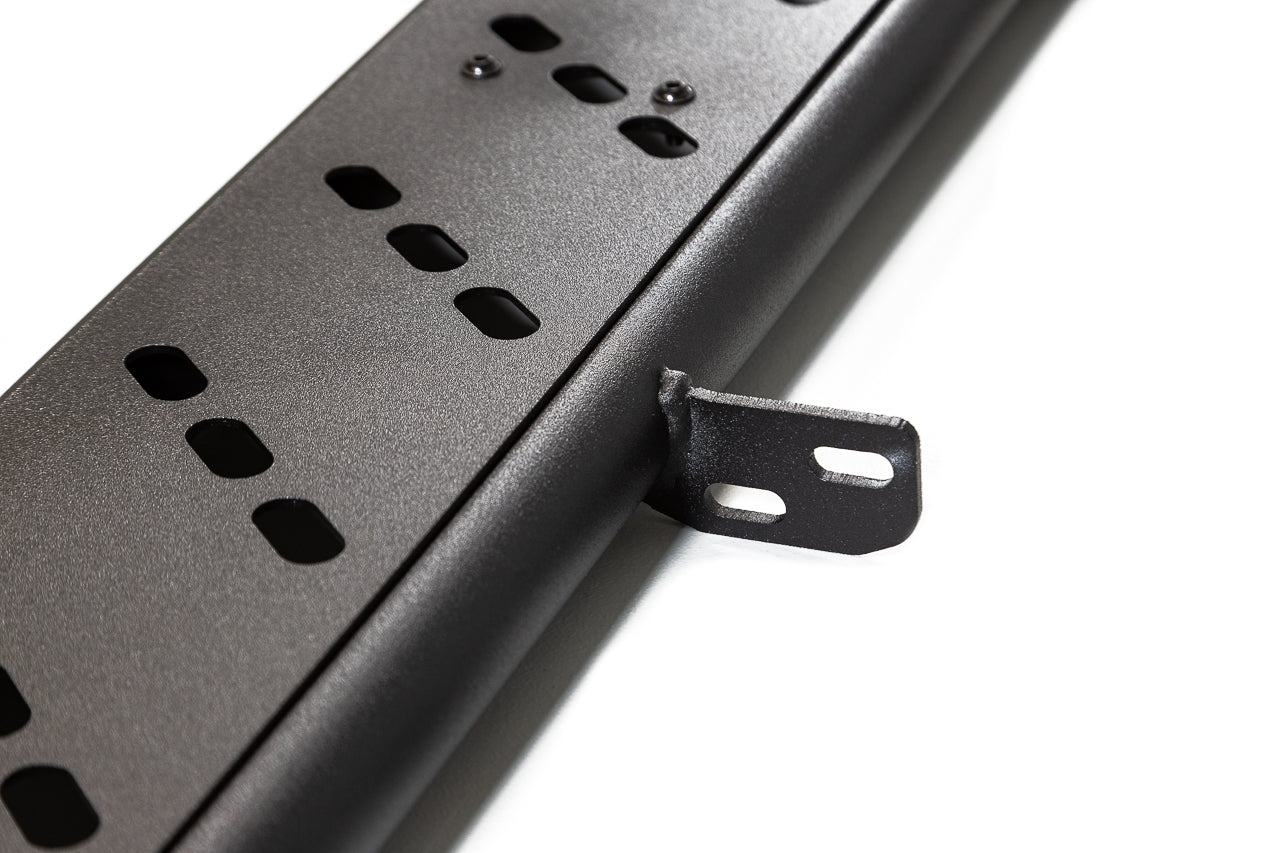
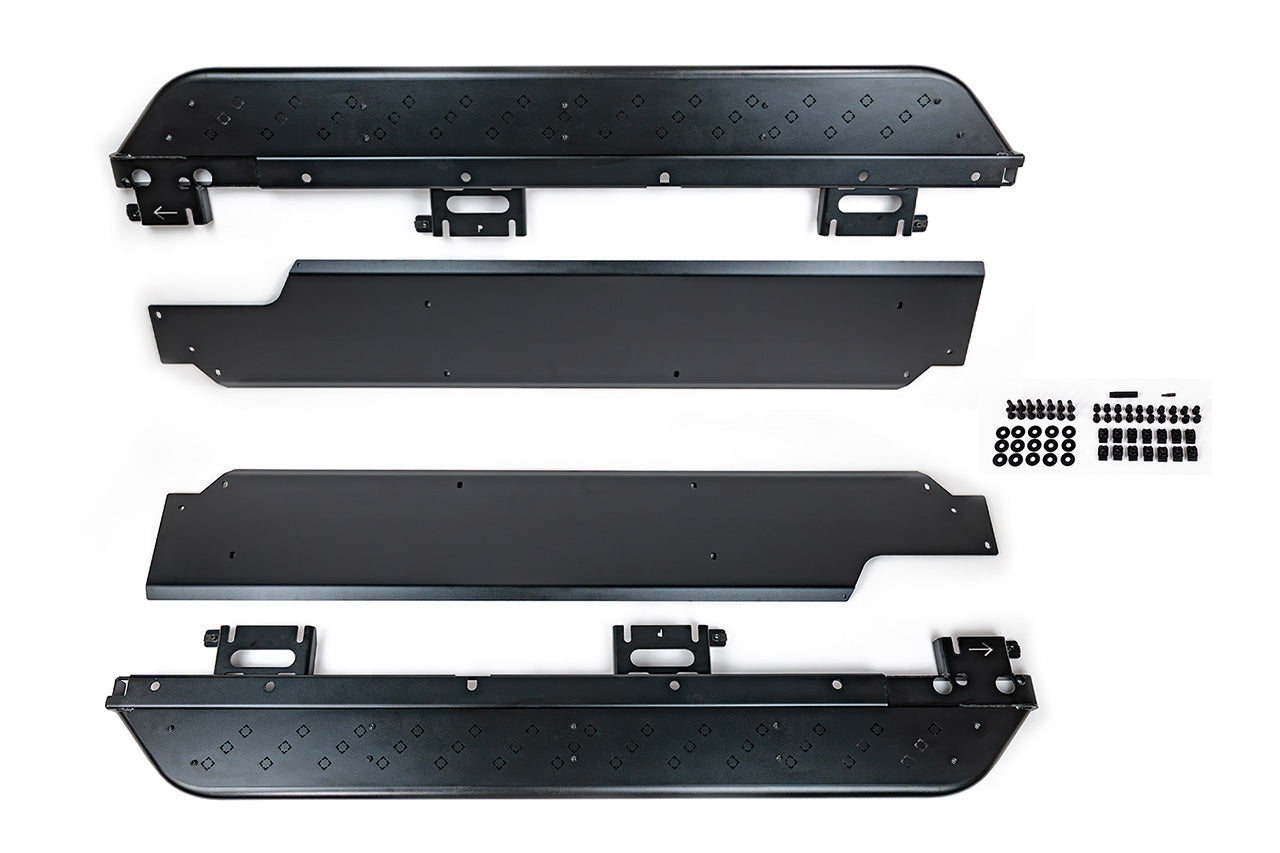
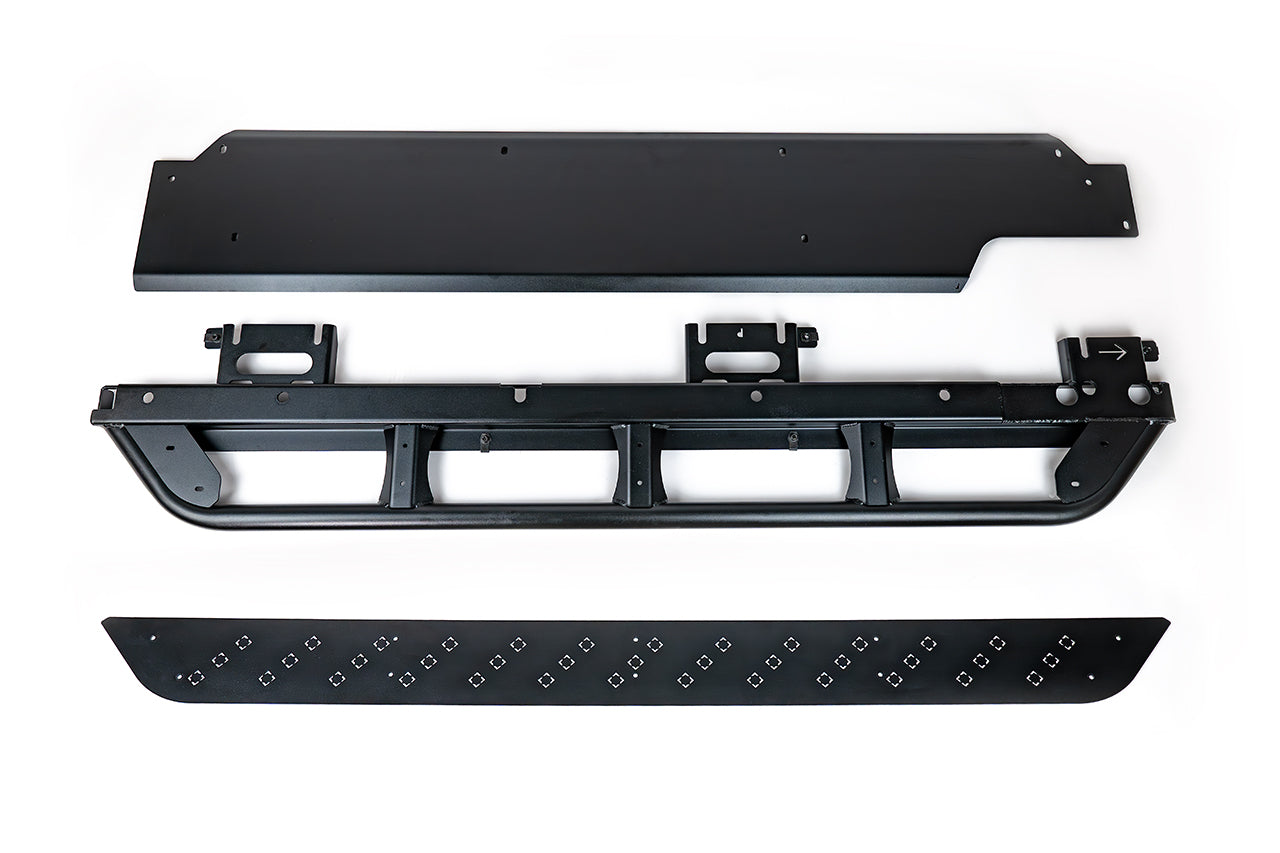
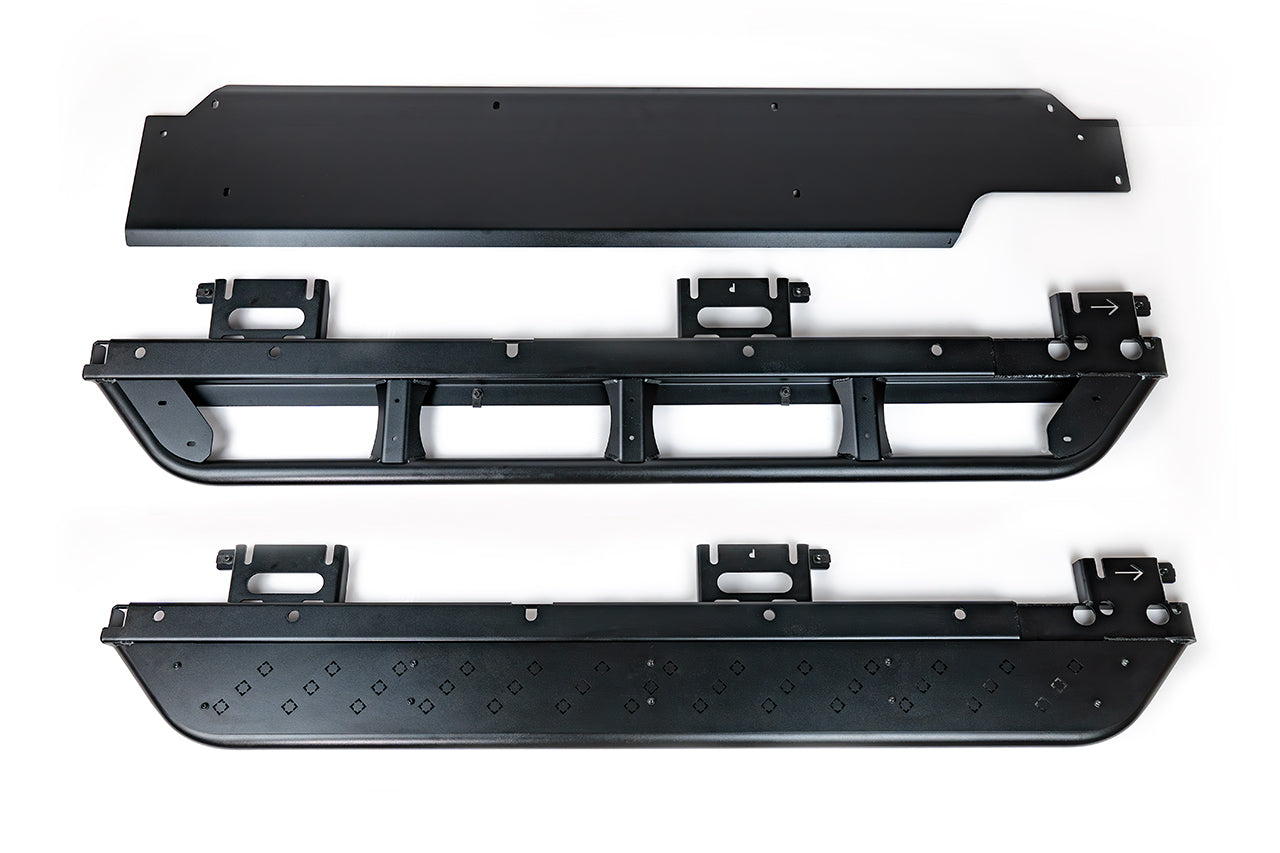
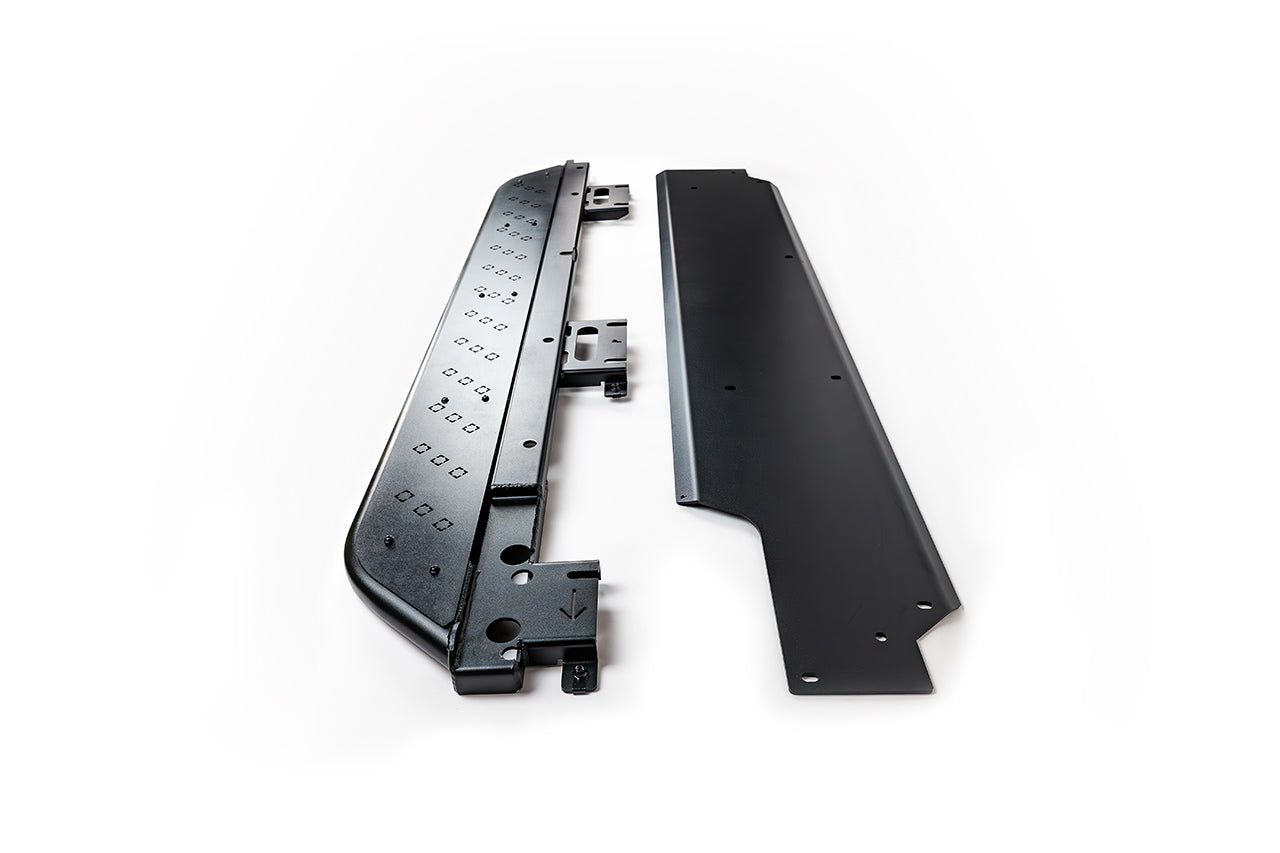
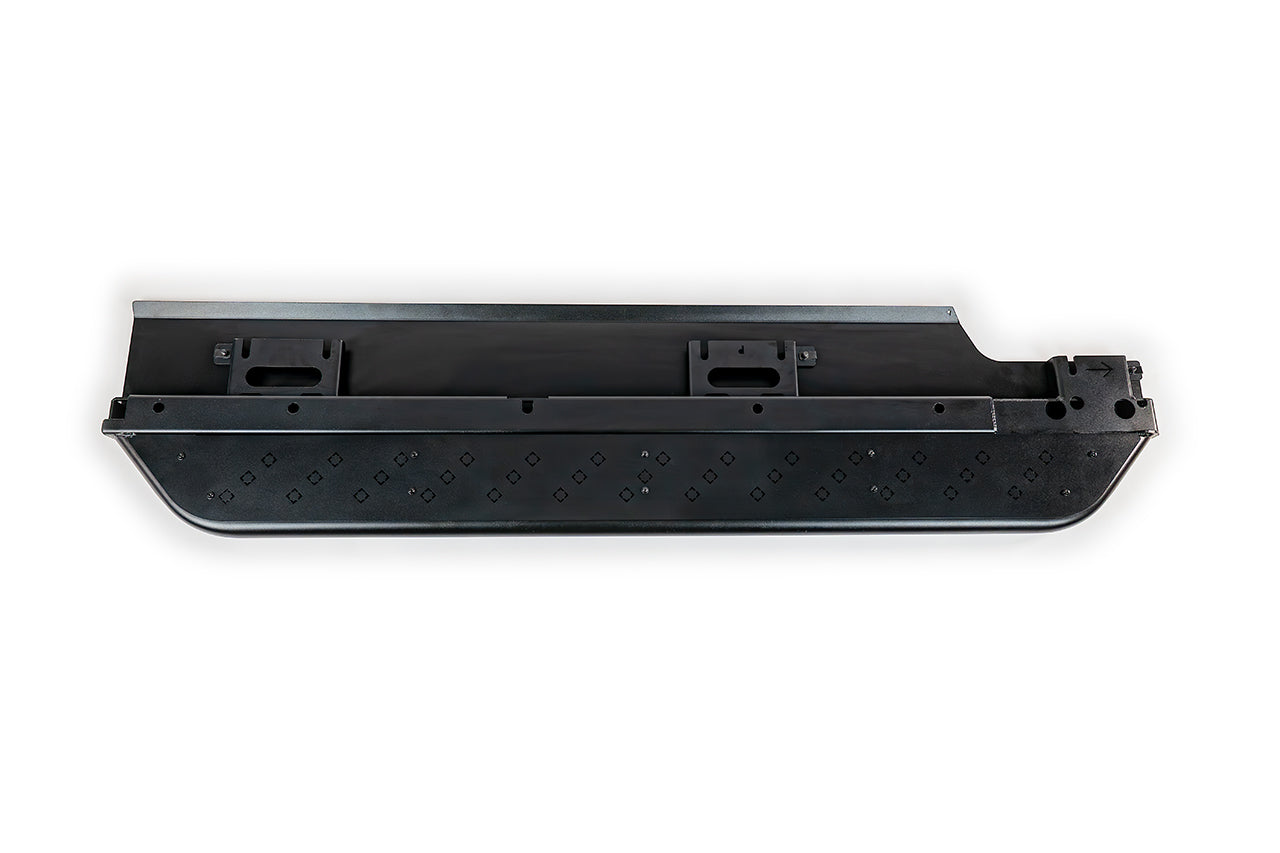
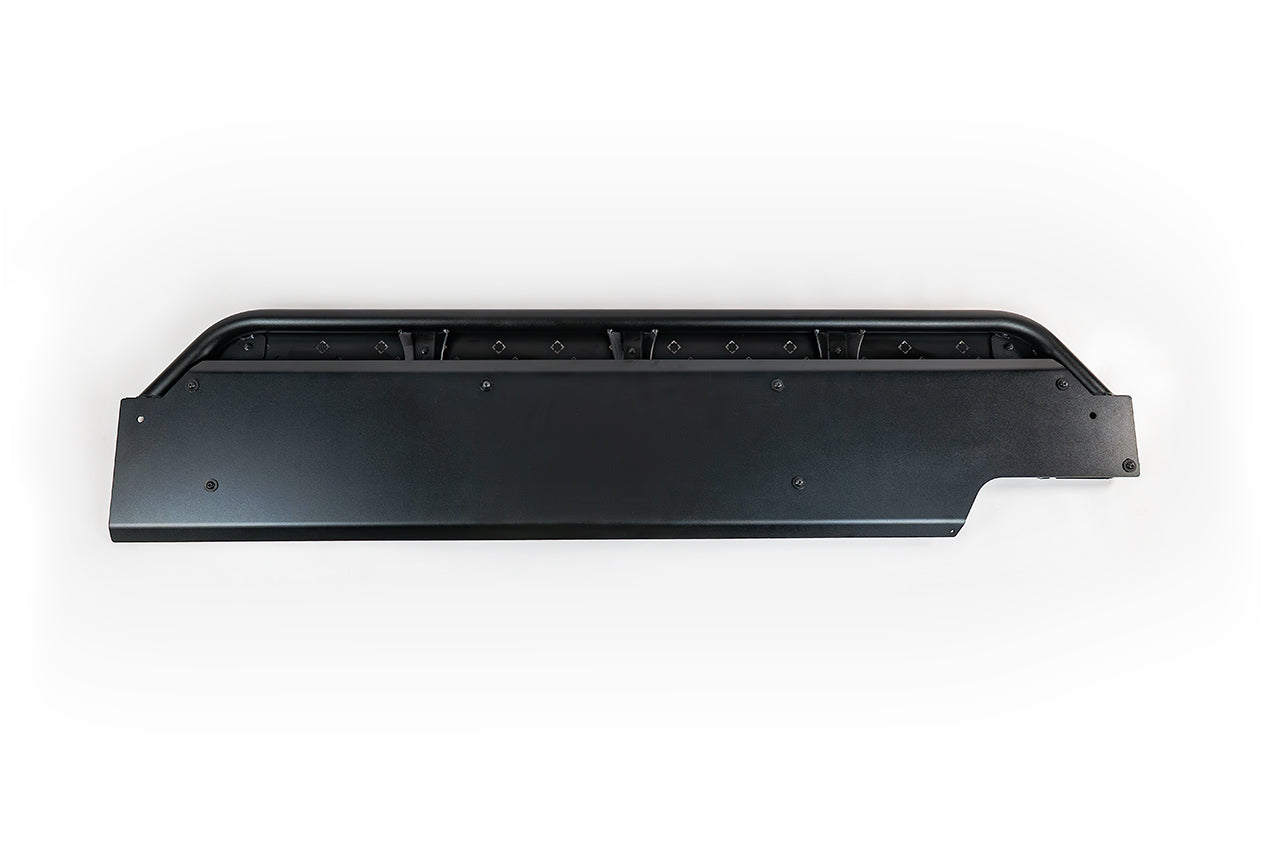
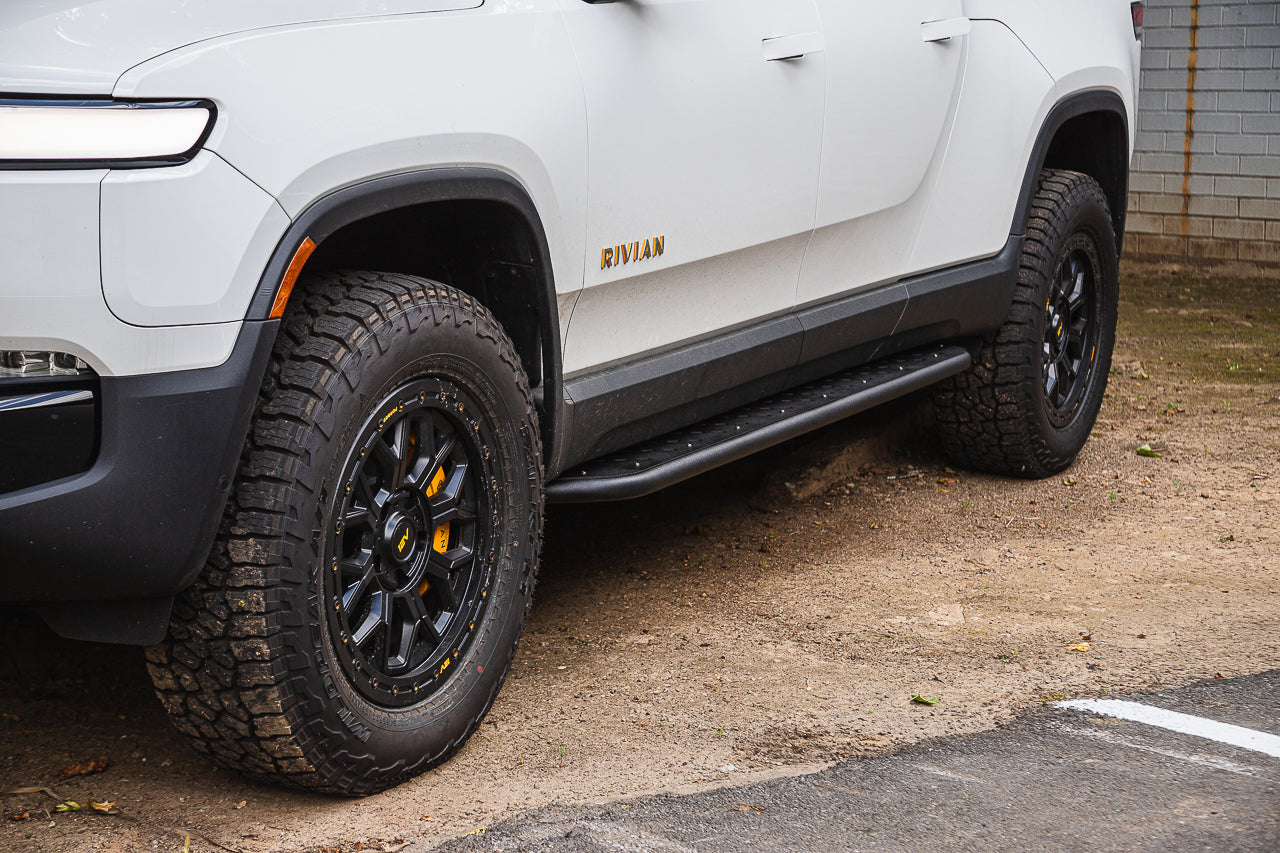
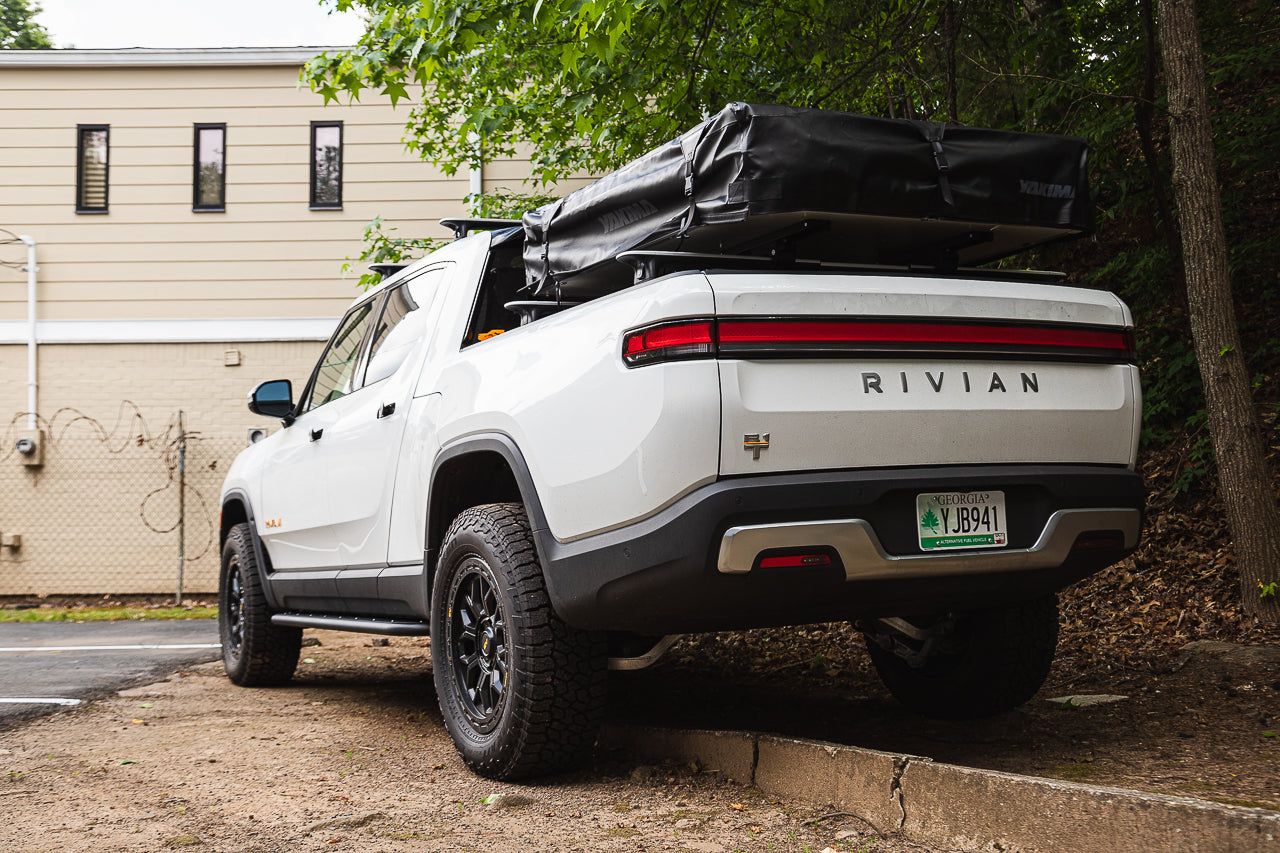
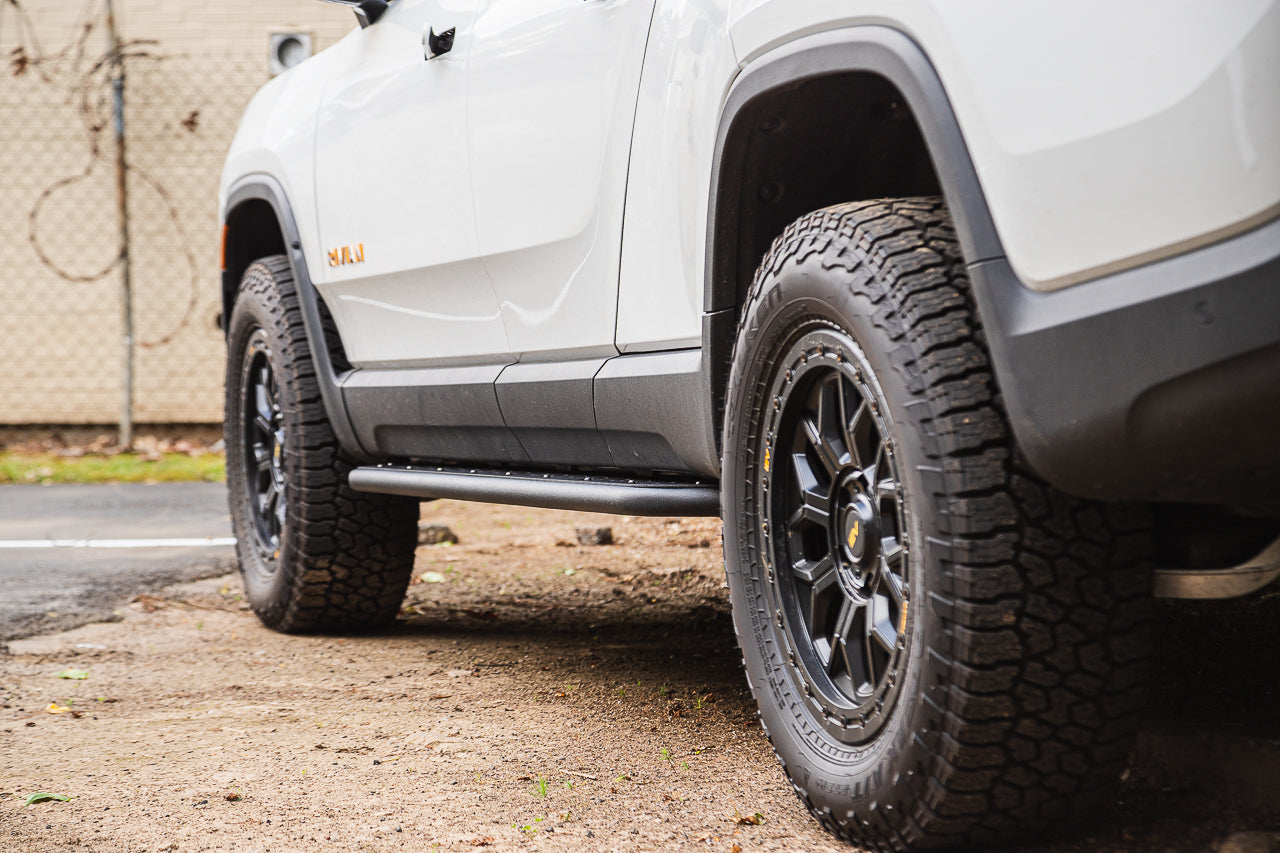
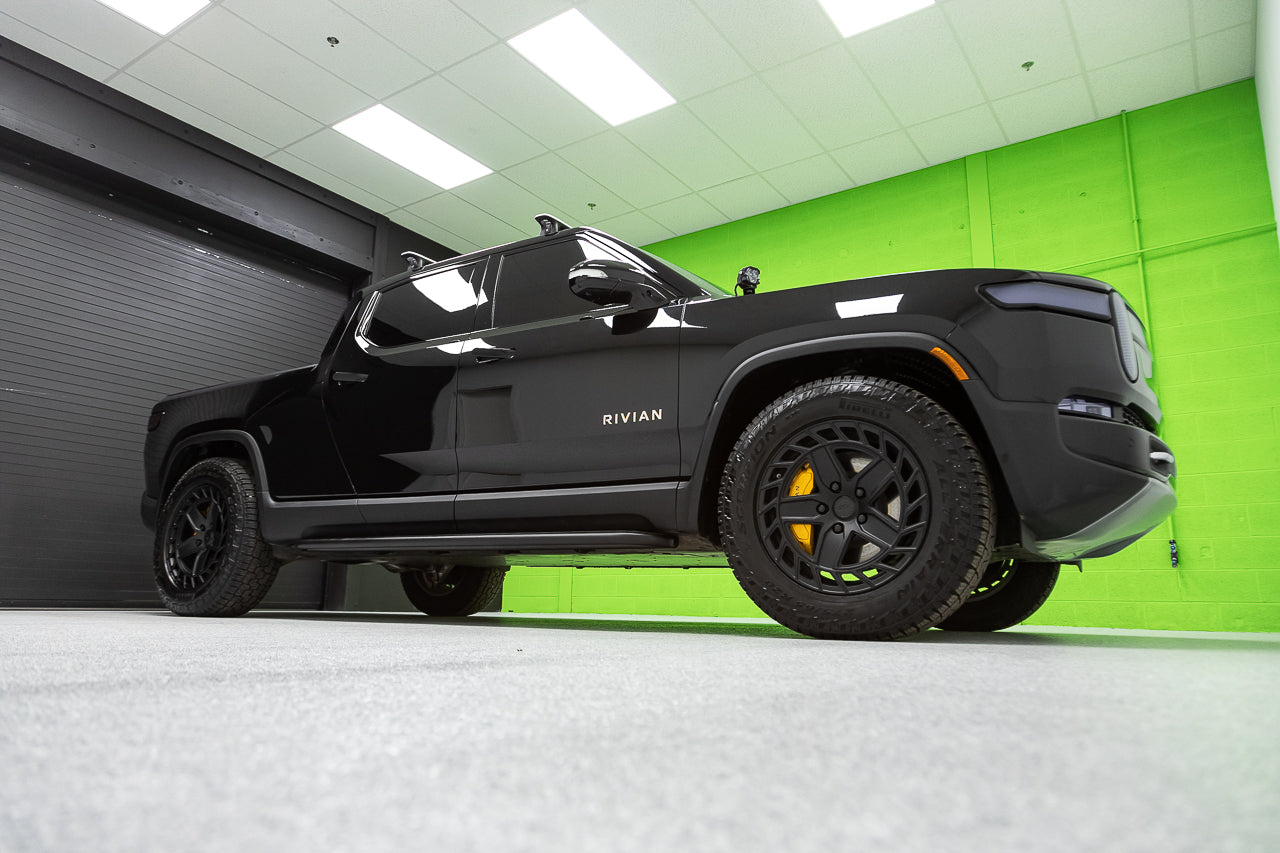
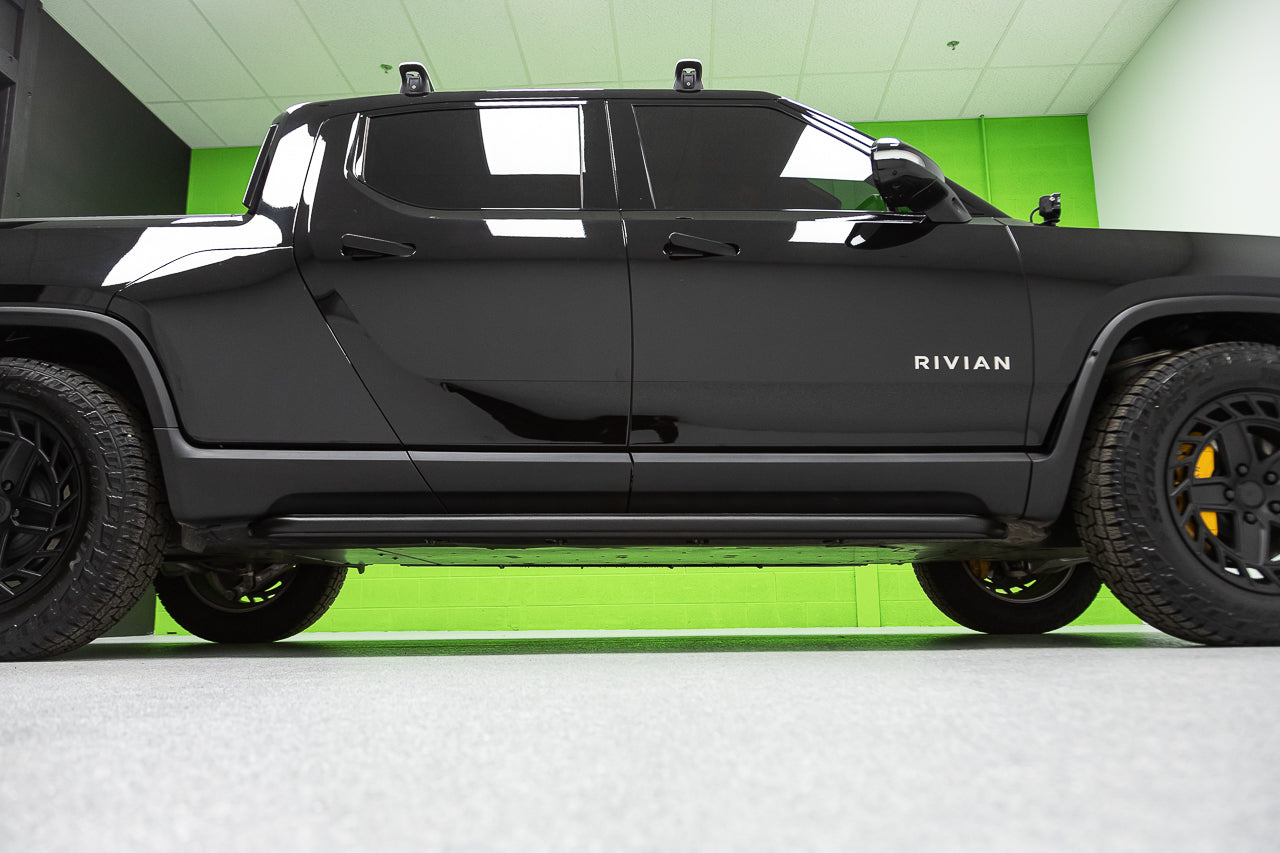
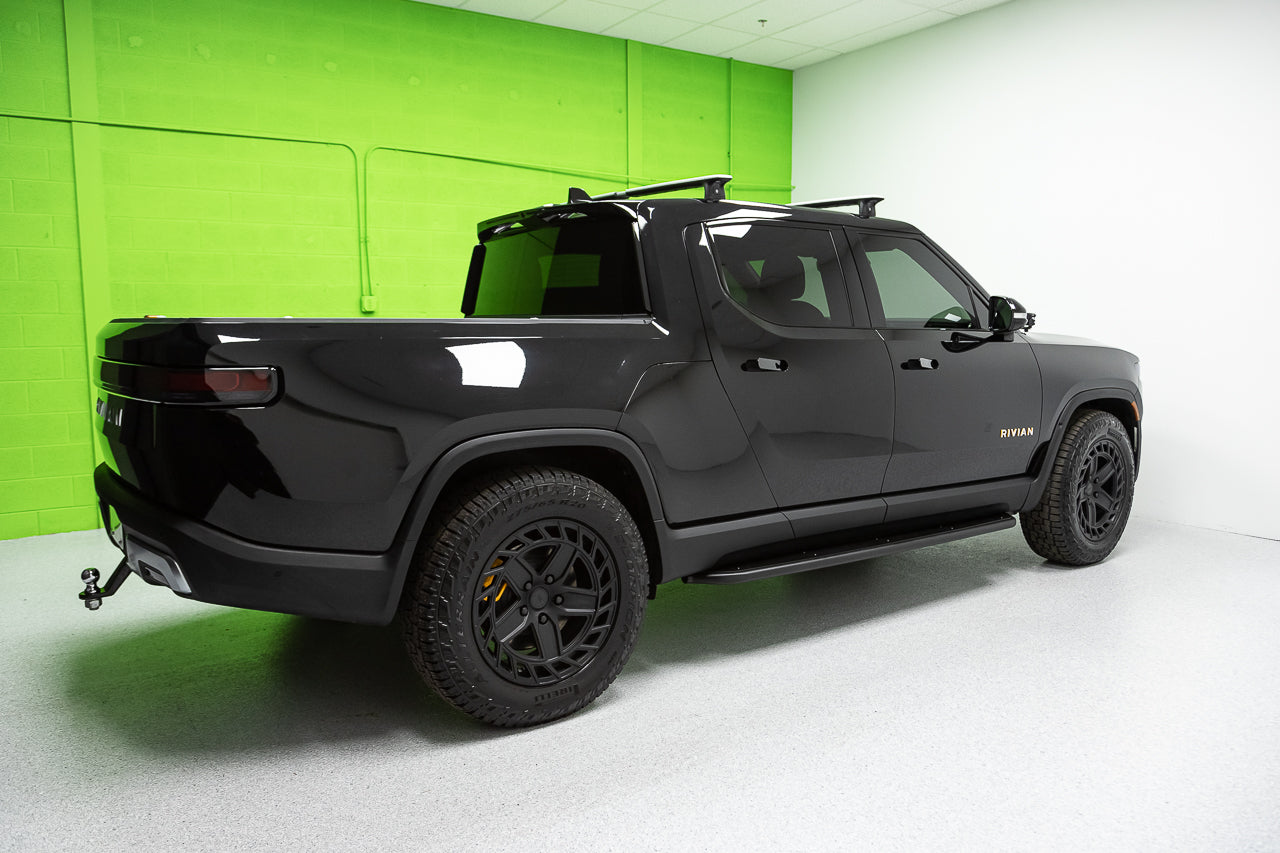
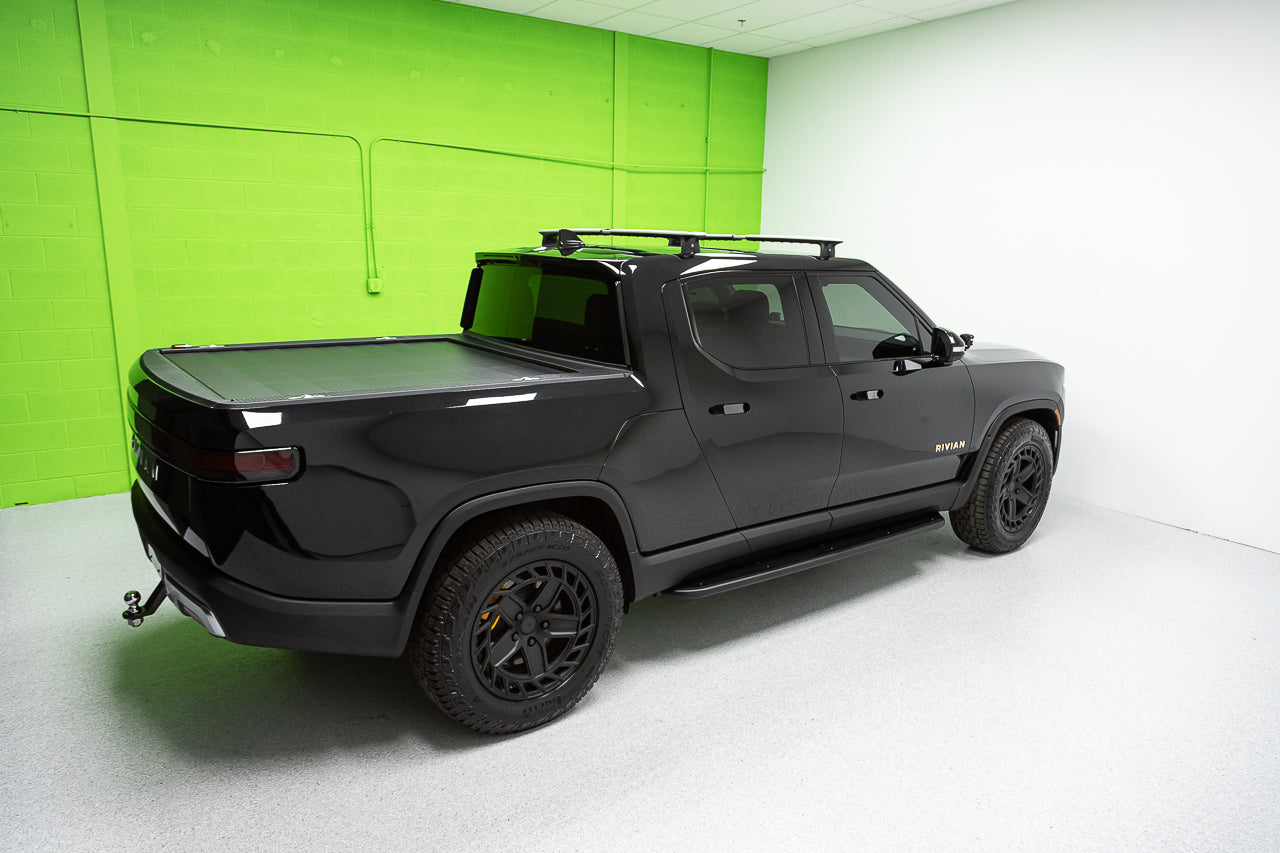
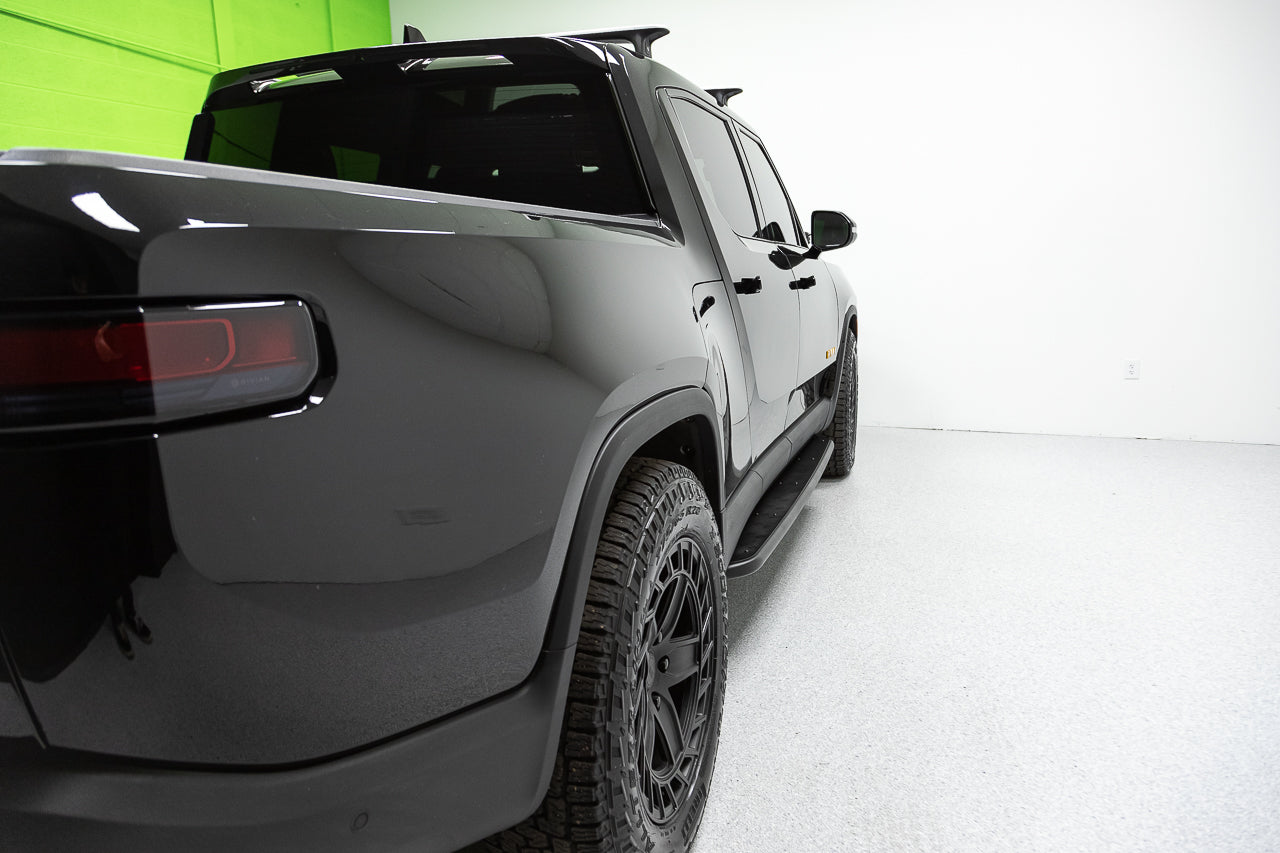
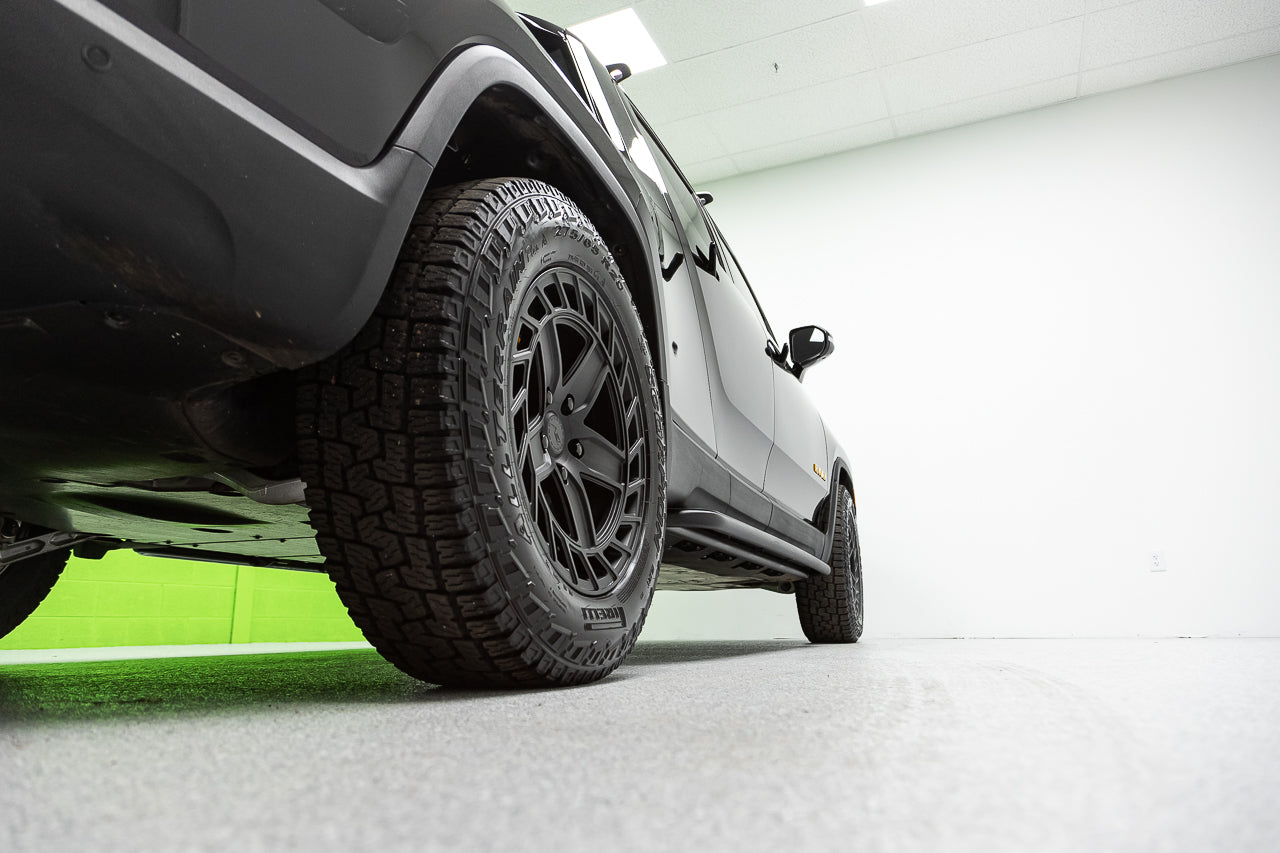
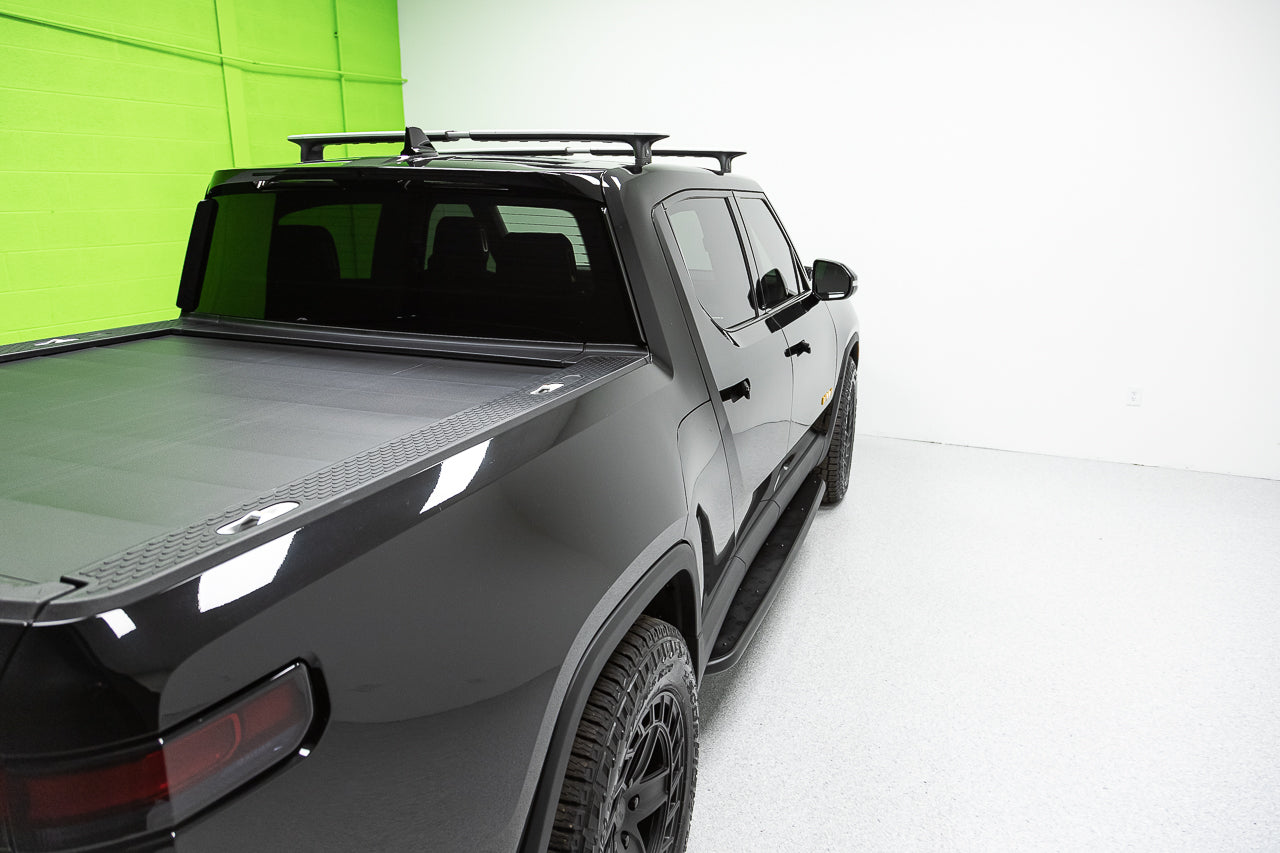
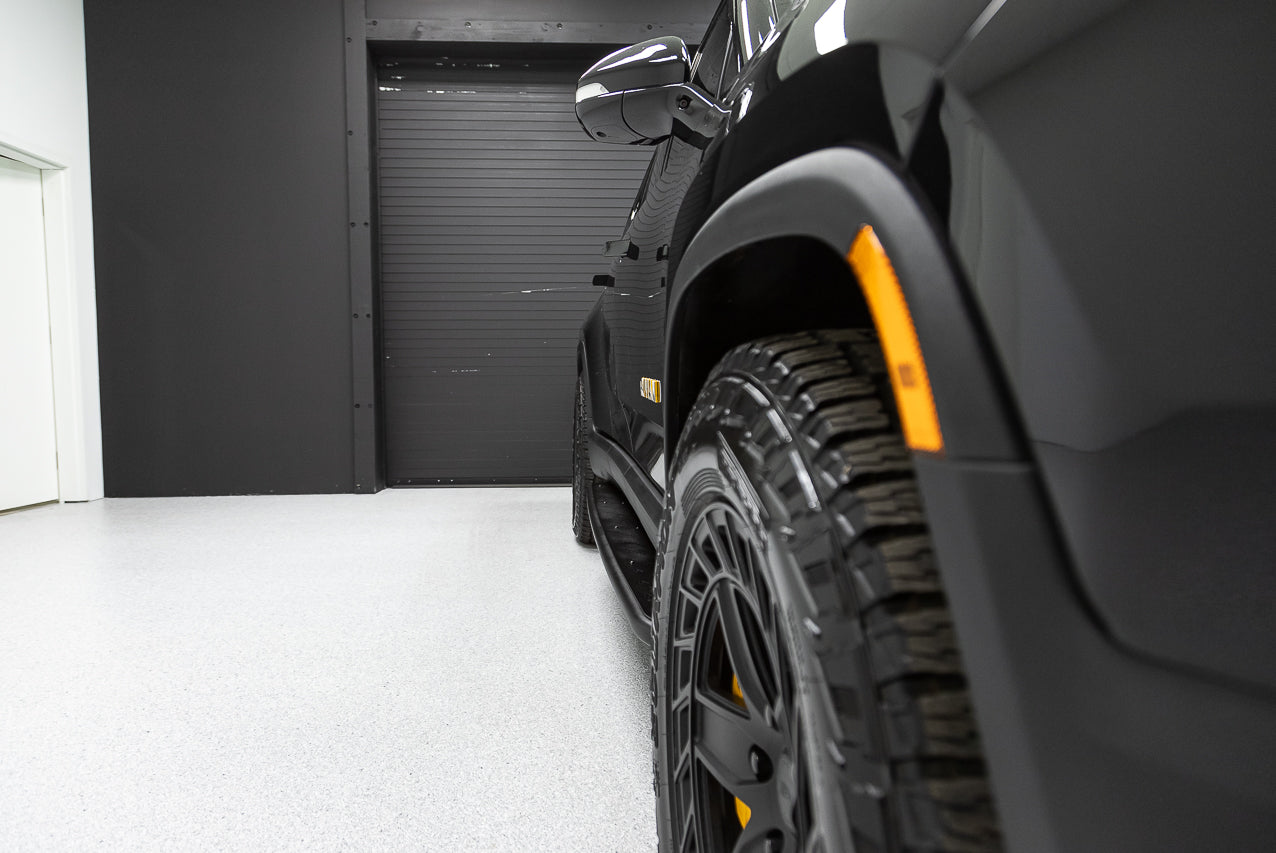
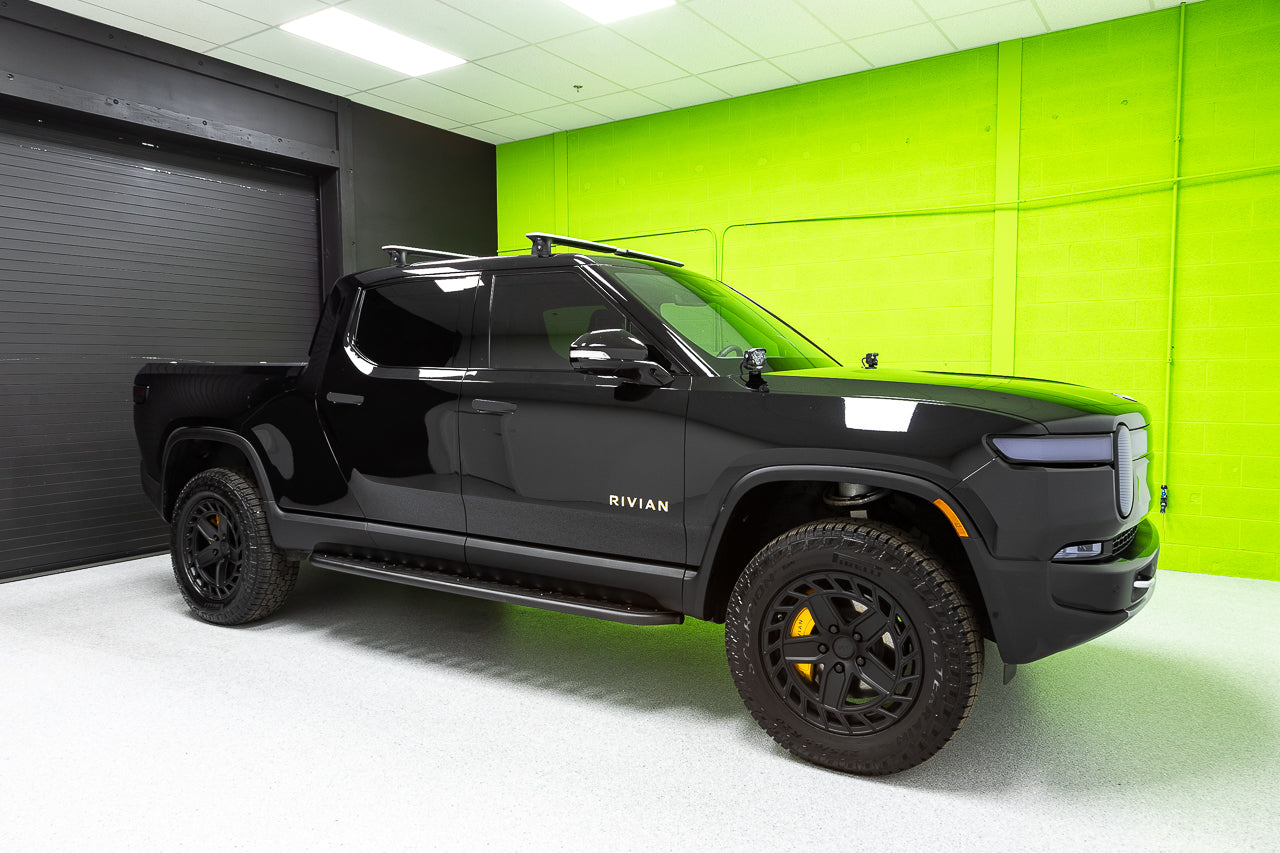
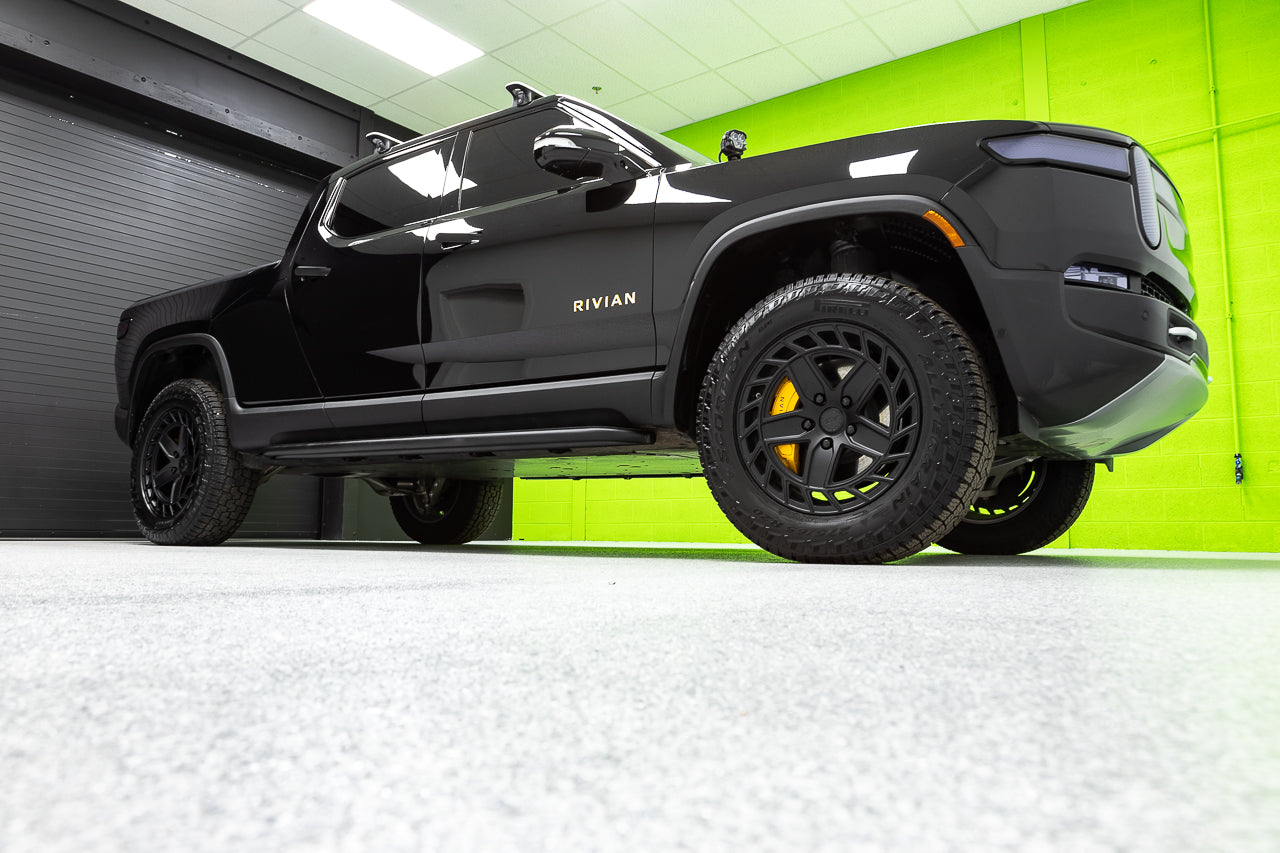
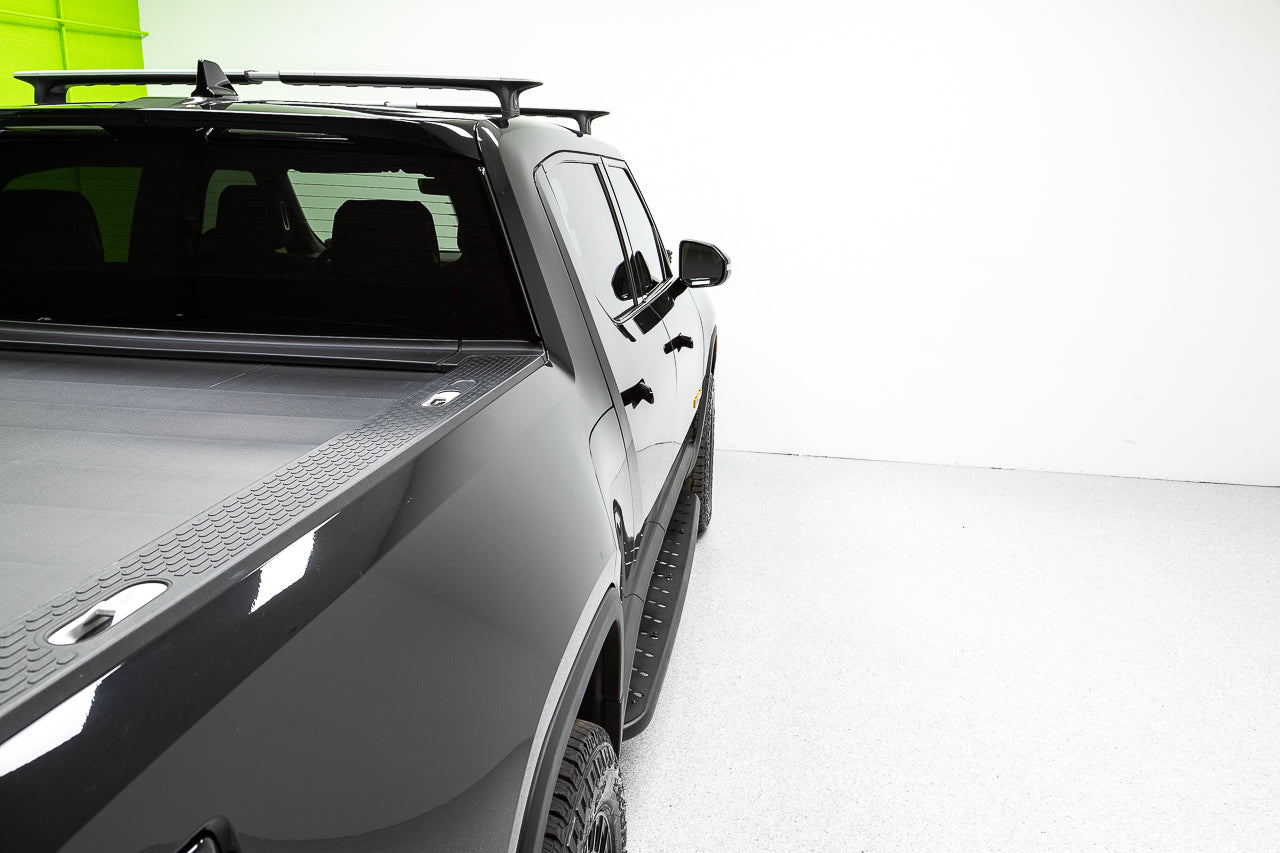
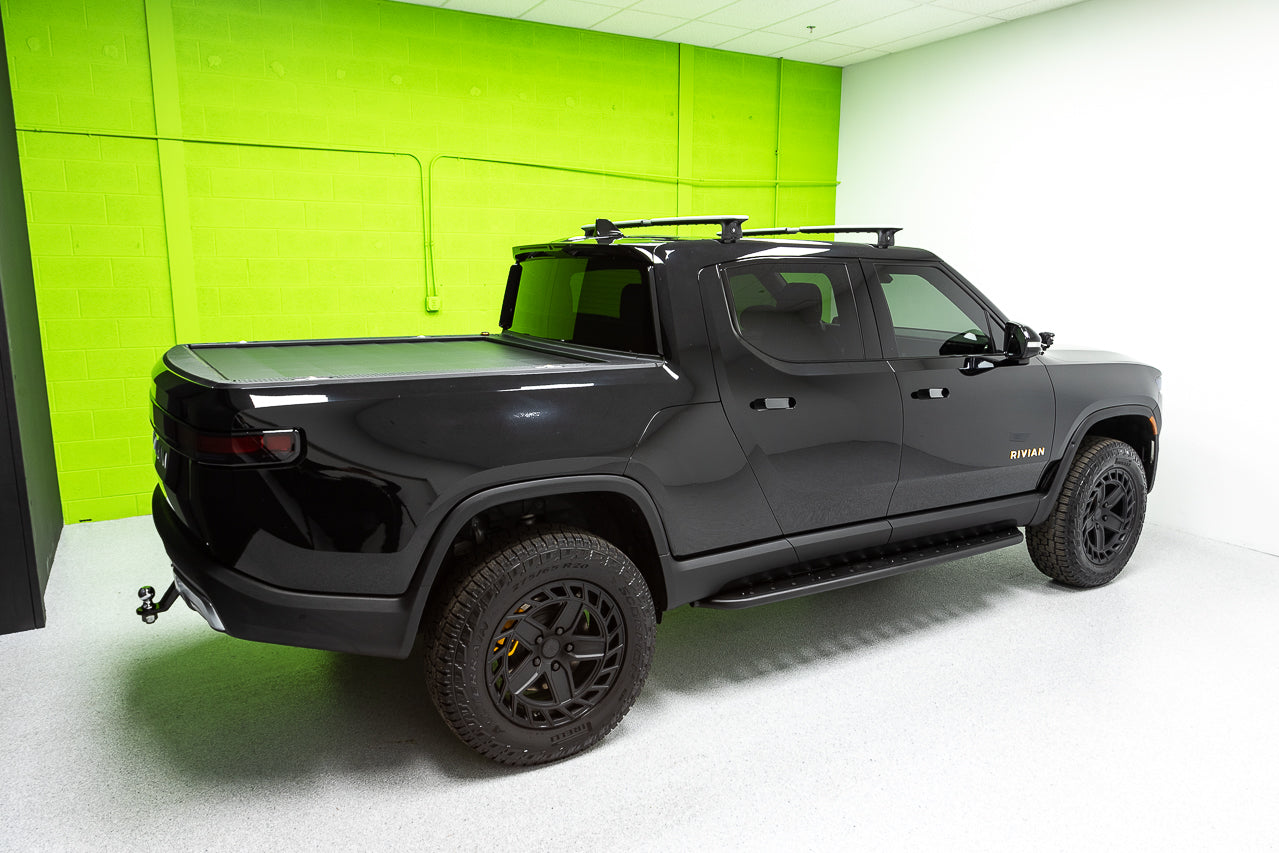
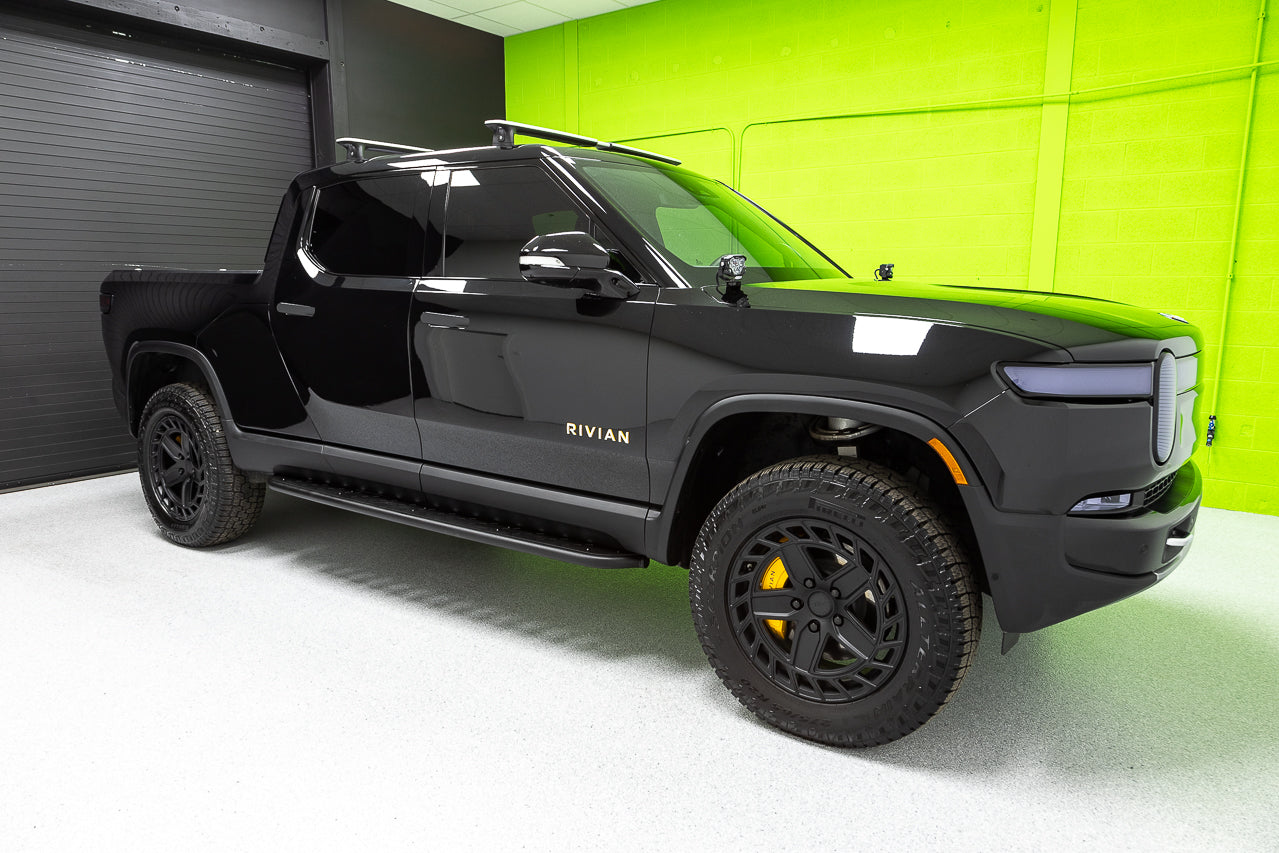
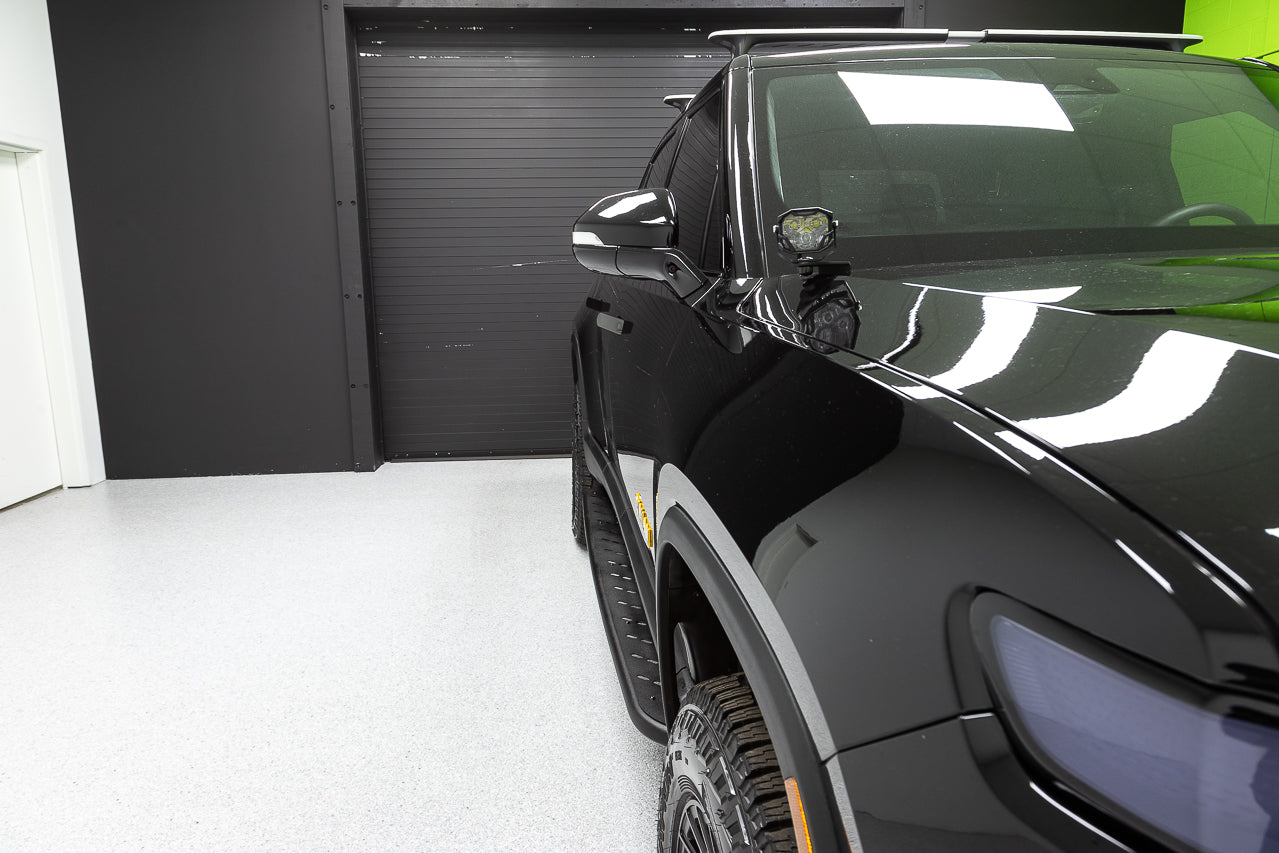
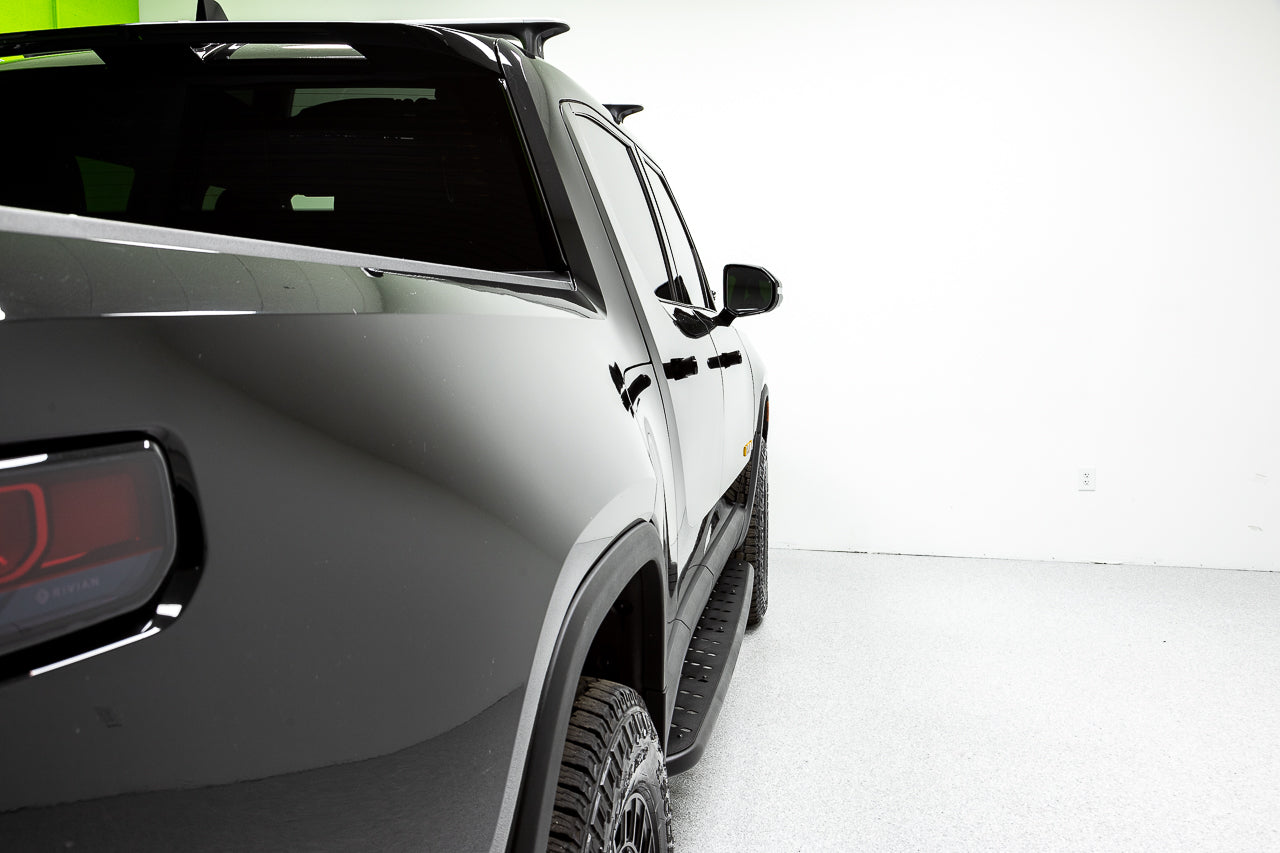
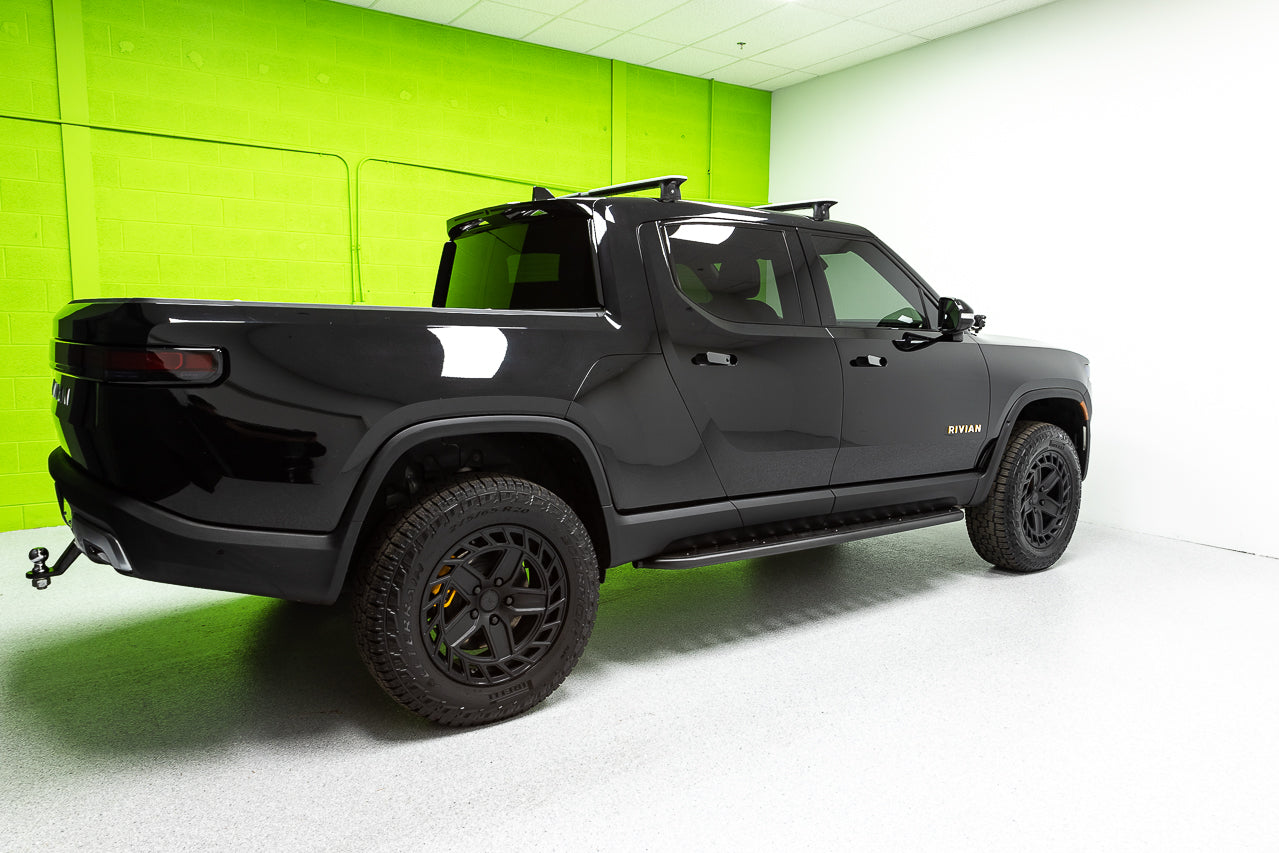
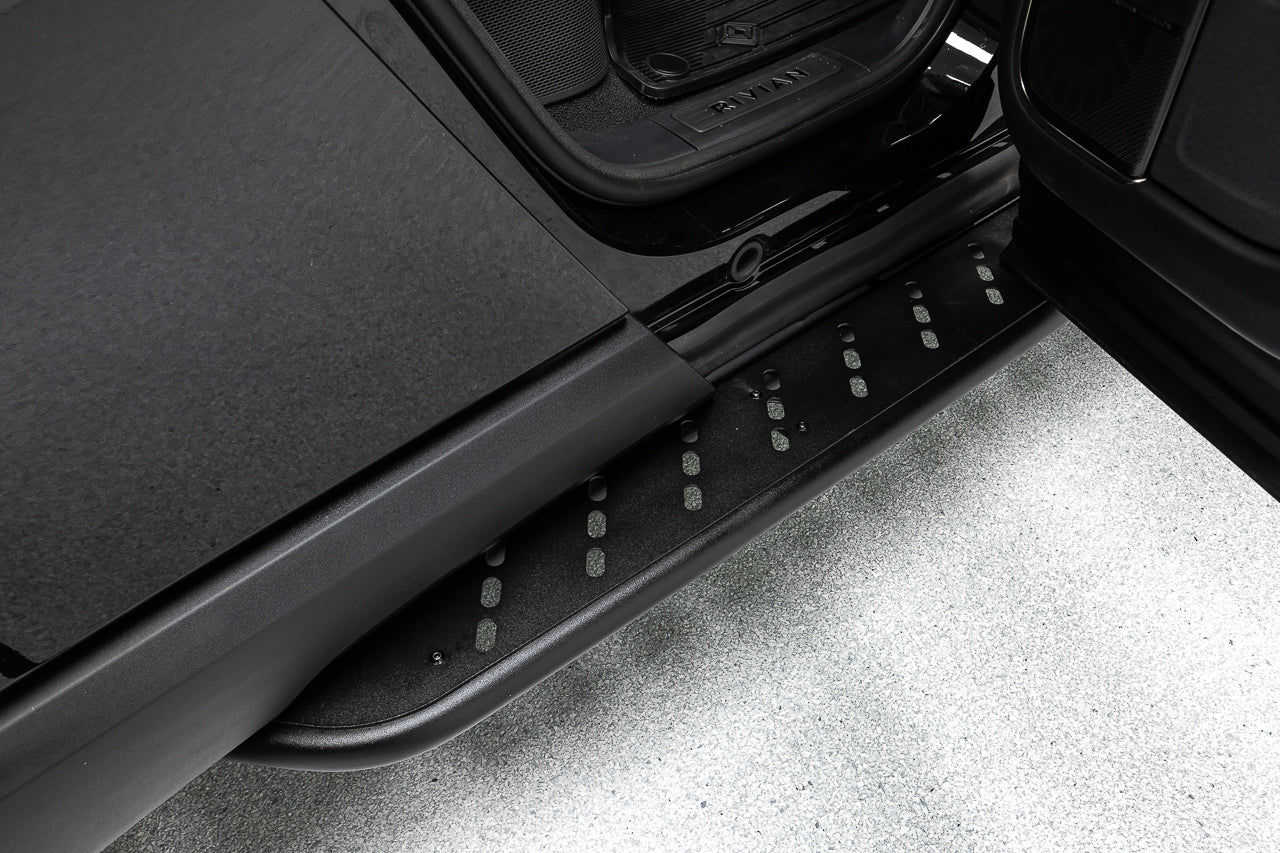
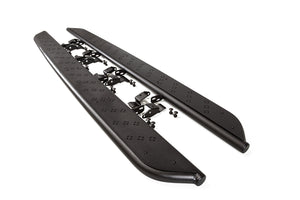
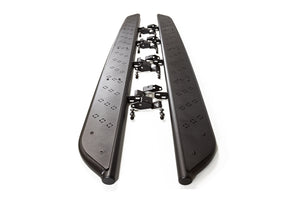
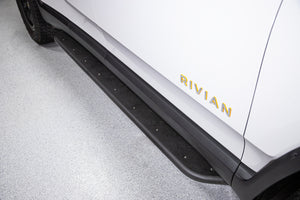
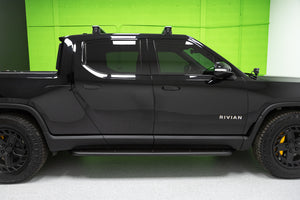
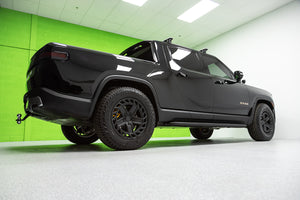
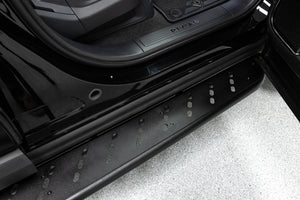
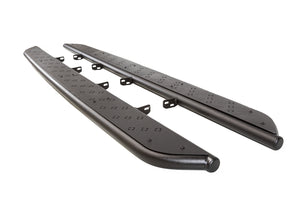
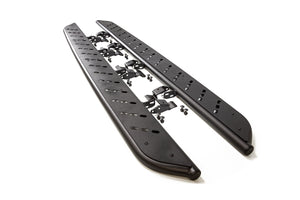
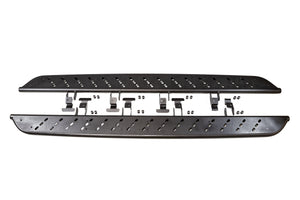
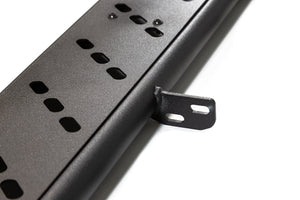
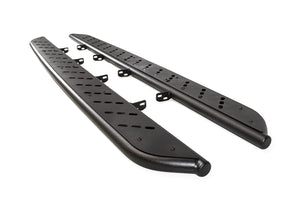
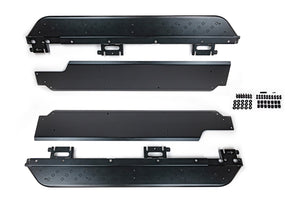
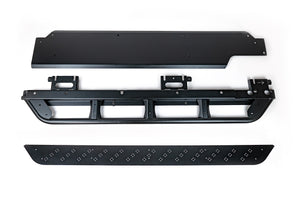
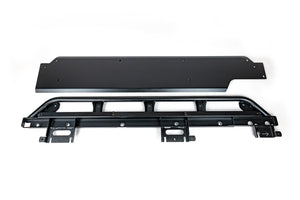
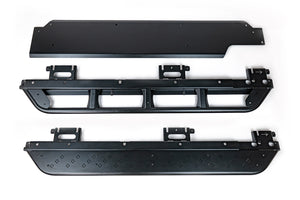
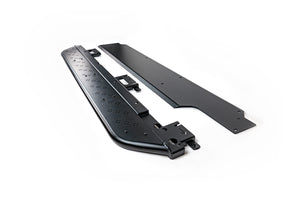
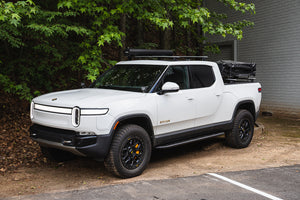
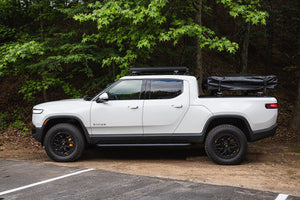
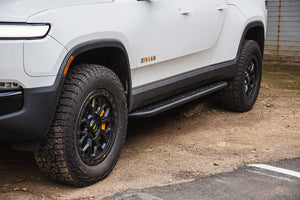
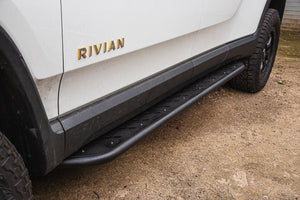
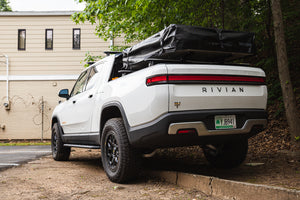
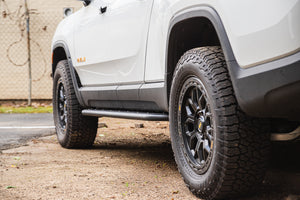
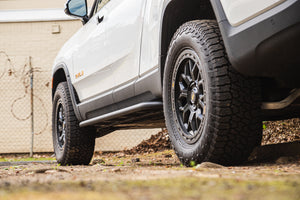
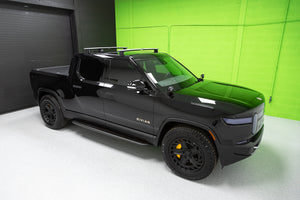
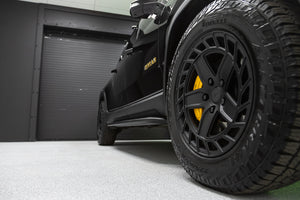
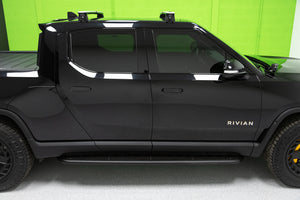
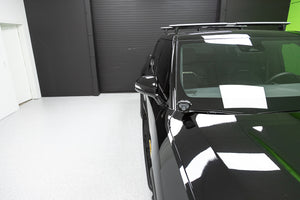
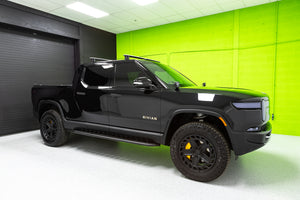
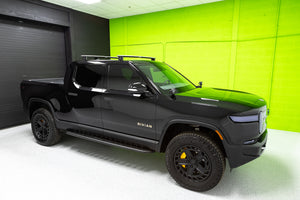
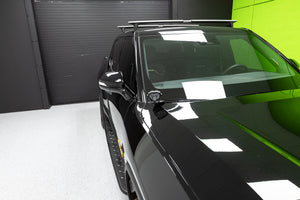
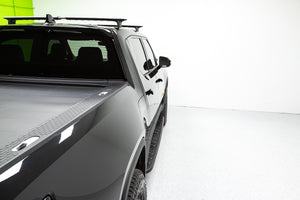
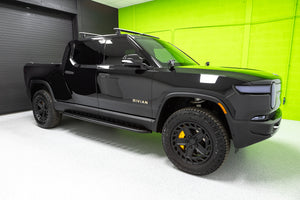
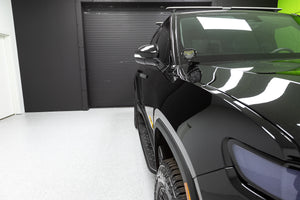
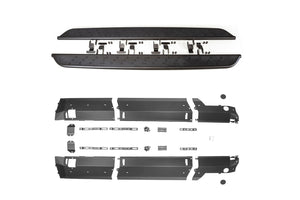
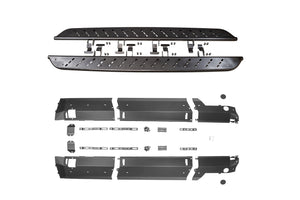
Team 1EV has engineered the most innovative and precision fitment bolt-on running boards and rock sliders for the Rivian R1T and R1S. With a strong emphasis on balancing proper design language, function, fitment and quality, the RMaxx Running Boards & Rock Sliders bring the convenience of a running board together with the optional protection of a properly engineered armored slider in a design that fits right and looks fantastic on the Rivian R1T and R1S. Attention to detail is paramount and our goal was to make the steps look like they came from the factory. True to this goal, we didn't add any logos or out-of-style design features. The modest tread design looks right at home on the Rivian while providing sufficient step traction. The boards are tucked in properly, meshing visually with the natural truck lines, and the rock slider armor skid plate integrates properly and DIRECTLY with the actual Rivian frame structure rail on the top side (NOT cantilevered out with brackets) - go bang and slide over all the rocks you like, we're ready for you! Team 1EV rock sliders are functional, not just for looks.
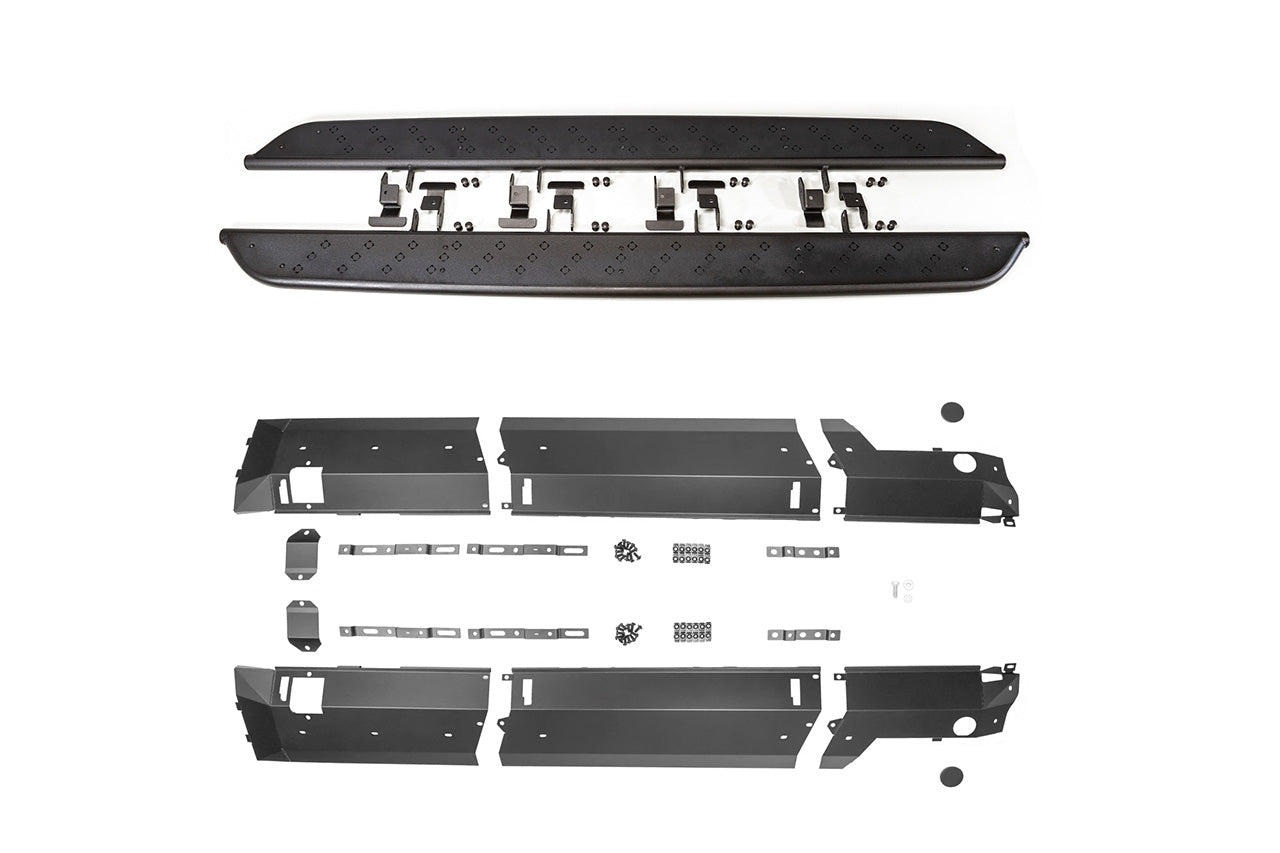
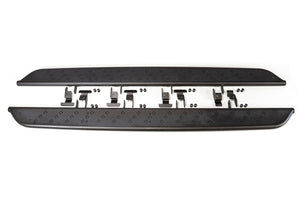
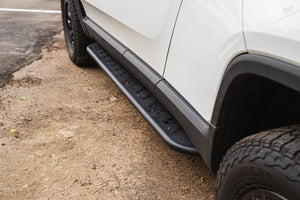
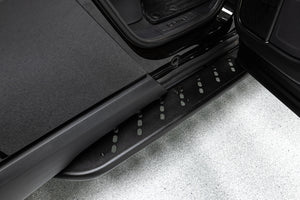
Material specifications are equally suited for the street, overlanding or Moab, take your pick, you're covered. Running boards start with CNC-bent 1.75" OD alloy steel tubing with laser cut and welded frame bracketry and steel tread plate step surfaces. We finish all surfaces with a rugged textured black powder coating. Running boards are rated for 1000lbs load. Sliders are rated for 1760lbs+ loads, consider them simply indestructible!
We offer two main options, Running Boards or Rock Sliders.
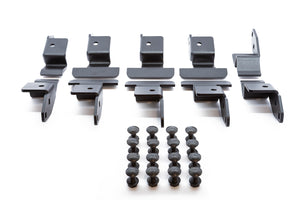
Running Boards and Rock Sliders bolt-on directly to the Rivian frame. To access the frame, the factory plastic covers must be removed. Several options exist:
For Running Boards:
For Rock Sliders:
Team 1EV is proud to make the RMaxx Running Board & Rock Sliders in the USA 🇺🇸


Fitments
Note: R1T and R1S are different products (R1T is longer than R1S - parts do not interchange).
Note Running Boards and Rock Sliders are different products, components do not interchange.
Specifications:
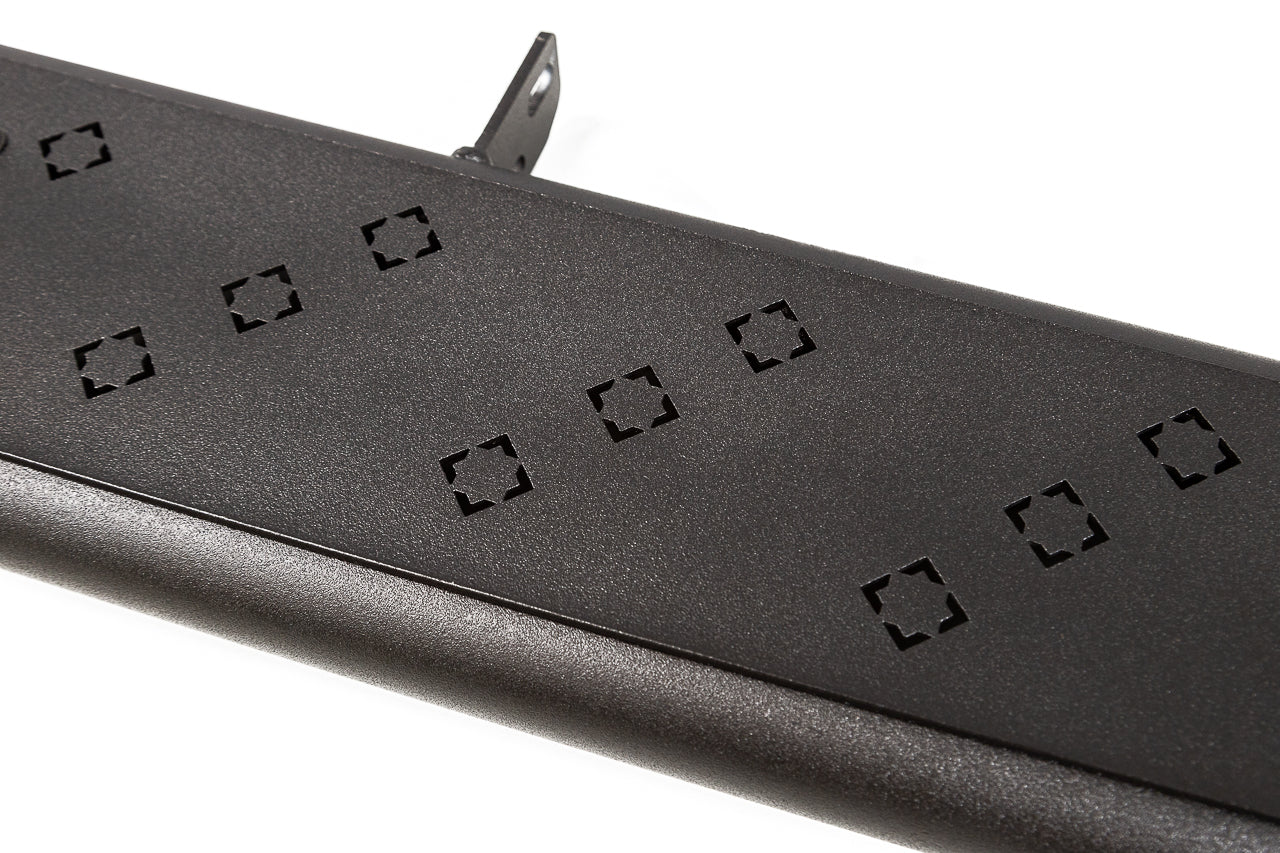
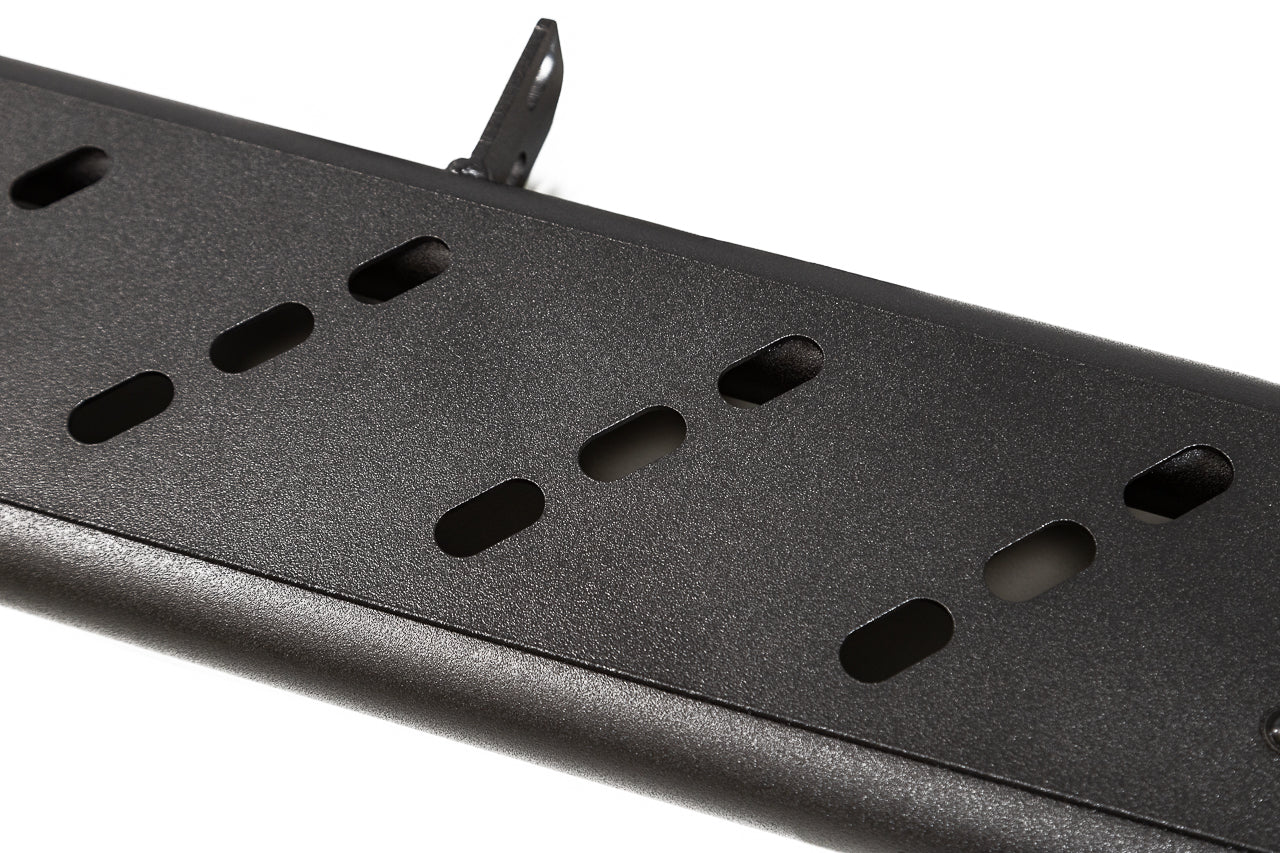
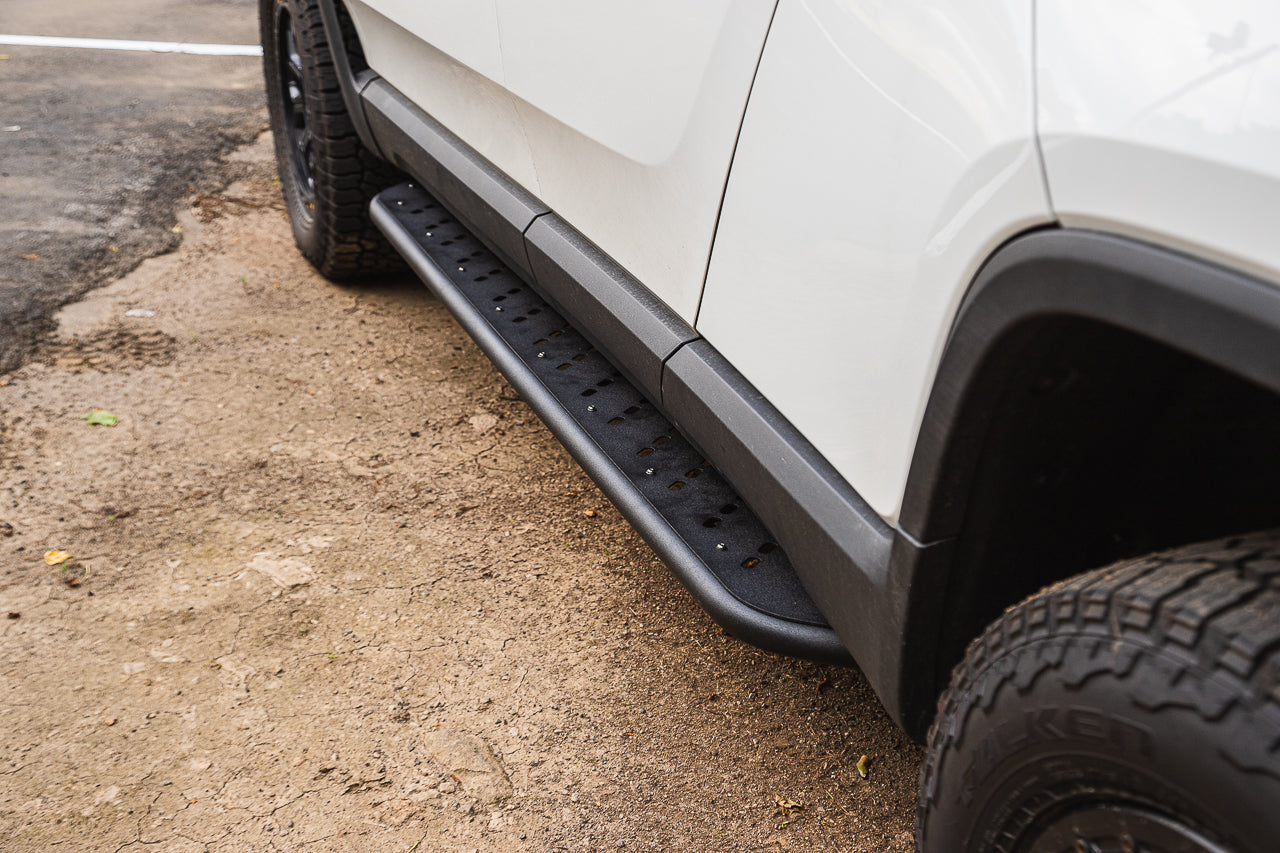
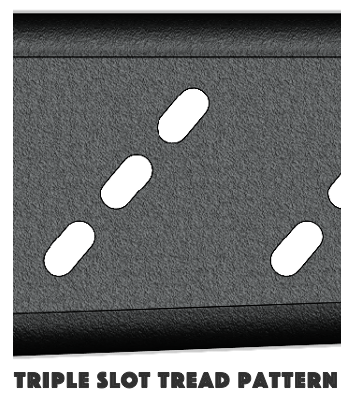
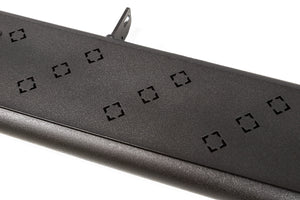
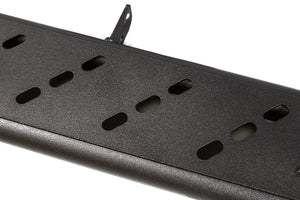
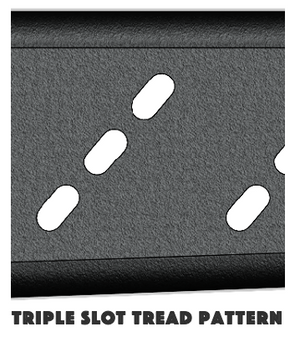
Tread Plate Options:
Square or Slot pattern:
NOTE: Phasing out Slot Treads - R1T "Slot tread" Running Board and Slider is sold out and no longer offered - For this application, we only offer "Square tread". We are phasing out the "Slot tread" in general across all applications, so when the remaining Slot treads sell out, they are done for good.
