
Instructions for tire mounting using 'beadlock' ring to secure outer tire bead:
1 - Remove all 24 bolts from beadlock ring and remove beadlock ring from wheel.
2 - Mount tire on wheel, leaving outer tire bead free from wheel (do not push outer tire bead past beadlock face).
3 - Install TPMS sensor and tighten TPMS sensor nut.
4 - Place beadlock ring over outer tire bead, pinching the outer tire bead between wheel beadlock face and beadlock ring. Line-up beadlock ring so bolt holes align with wheel beadlock threaded holes.
5 - Apply a small amount of anti-seize on all beadlock bolt threads. We recommend using lock washers on the beadlock bolts as well; install lock washers on beadlock bolts.
6 - Carefully install all 24 bead lock bolts securing beadlock ring to the wheel, while pinching the outer tire bead between the beadlock ring and wheel. Hand tighten all bolts.
7 - Start tightening beadlock bolts one or two turns at a time, moving bolt-to-bolt using a criss-crossing bolt pattern around the wheel. Tighten a bolt, then tighten the bolt on the directly opposite side of the bead lock ring. Next, move to a bolt that is 90 degrees clockwise from the bolt you tightened. Then tighten the bolt on the directly opposite side of the bead lock ring. Continue this pattern, effectively clamping the outer tire bead to the wheel in a slow and equal manner. It will take several rounds of tightening to get the beadlock seated and near ready for final torquing.
8 - Using a torque wench set to 10 ft-lbs, complete bolt tightening round. Repeat at 13 ft-lbs. Repeat at 15 ft-lbs. Note, tall tire beads vary in thickness and consistency, most tires will be fully pinched in place and fully secured at 15 ft-lbs. If needed or desired, beadlock bolt torque can be increase, but we do not recommend exceeding 18 ft-lbs.
9 - Inflate tire carefully seating inner bead on wheel as usual.
10 - Balance wheel and tire assembly following industry balancing standards.
11 - Check beadlock bolt torque after 100 miles, re-torque as needed. We recommend re-checking beadlock bolt torque every 5000 miles.
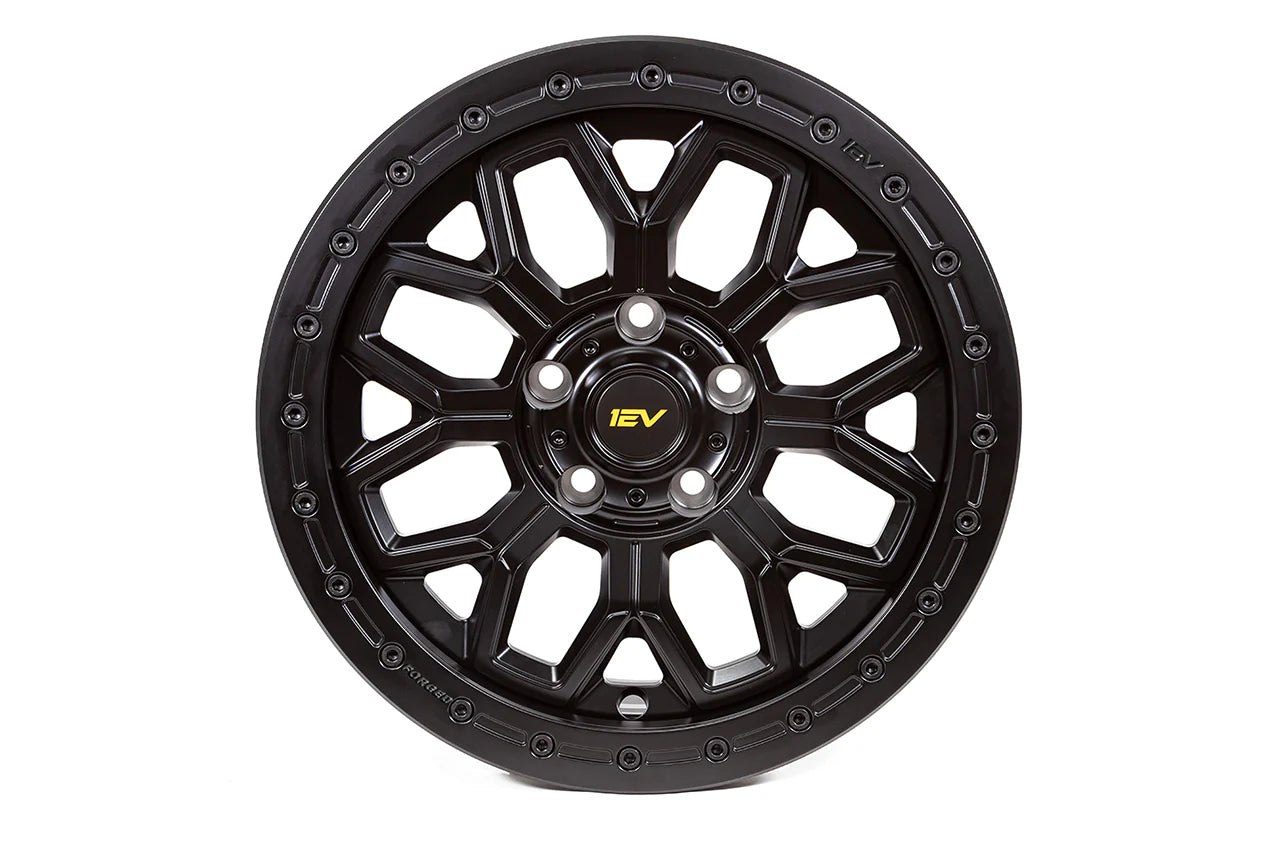
Team 1EV R80B wheels are designed with a traditional wheel bead behind the beadlock ring, allowing tires to be mounted in a traditional 'air pressure seated tire beads' manner. This option will effectively render the beadlock ring just for looks, and not functional.
Alternative Instructions for mounting tires on wheels using outer wheel bead instead of pinching with beadlock ring.
1 - Remove all 24 bolts from beadlock ring and remove beadlock ring from wheel.
2 - Mount tire on wheel, leaving outer tire bead free from wheel (do not push outer tire bead past beadlock face).
3 - Install TPMS sensor and tighten TPMS sensor nut.
4 - Using a proper tire mounting machine, press the outer tire bead past the wheel beadlock face and fully into the barrel of the wheel.
5 - Inflate tire carefully seating inner and outer tire beads on wheel as usual.
6 - Place beadlock ring onto wheel beadlock face. Line-up beadlock ring so bolt holes align with wheel beadlock threaded holes.
7 - Apply a small amount of anti-seize on all beadlock bolt threads. We recommend using lock washers on the beadlock bolts as well; install lock washers on beadlock bolts.
8 - Carefully install all 24 bead lock bolts securing beadlock ring to the wheel. Hand tighten all bolts.
8 - Start tightening beadlock bolts one or two turns at a time, moving bolt-to-bolt using a criss-crossing bolt pattern around the wheel. Tighten a bolt, then tighten the bolt on the directly opposite side of the bead lock ring. Next, move to a bolt that is 90 degrees clockwise from the bolt you tightened. Then tighten the bolt on the directly opposite side of the bead lock ring. Continue this pattern, effectively clamping beadlock ring to the wheel in a slow and equal manner.
10 - Using a torque wench set to 10 ft-lbs, complete bolt tightening round. Repeat at 13 ft-lbs. Repeat at 15 ft-lbs. If needed or desired, beadlock bolt torque can be increase, but we do not recommend exceeding 18 ft-lbs.
11 - Balance wheel and tire assembly following industry balancing standards.
12 - Check beadlock bolt torque after 100 miles, re-torque as needed. We recommend re-checking beadlock torque every 5000 miles.