Hankook Tire Rebate: Get up to $120! | 0% Financing with Affirm for Up to 12 Months!

Details

z

Search

    z
    z

    RMaxx Soft Tonneau Roll-up Bed Cover for Rivian R1T Installation Instructions

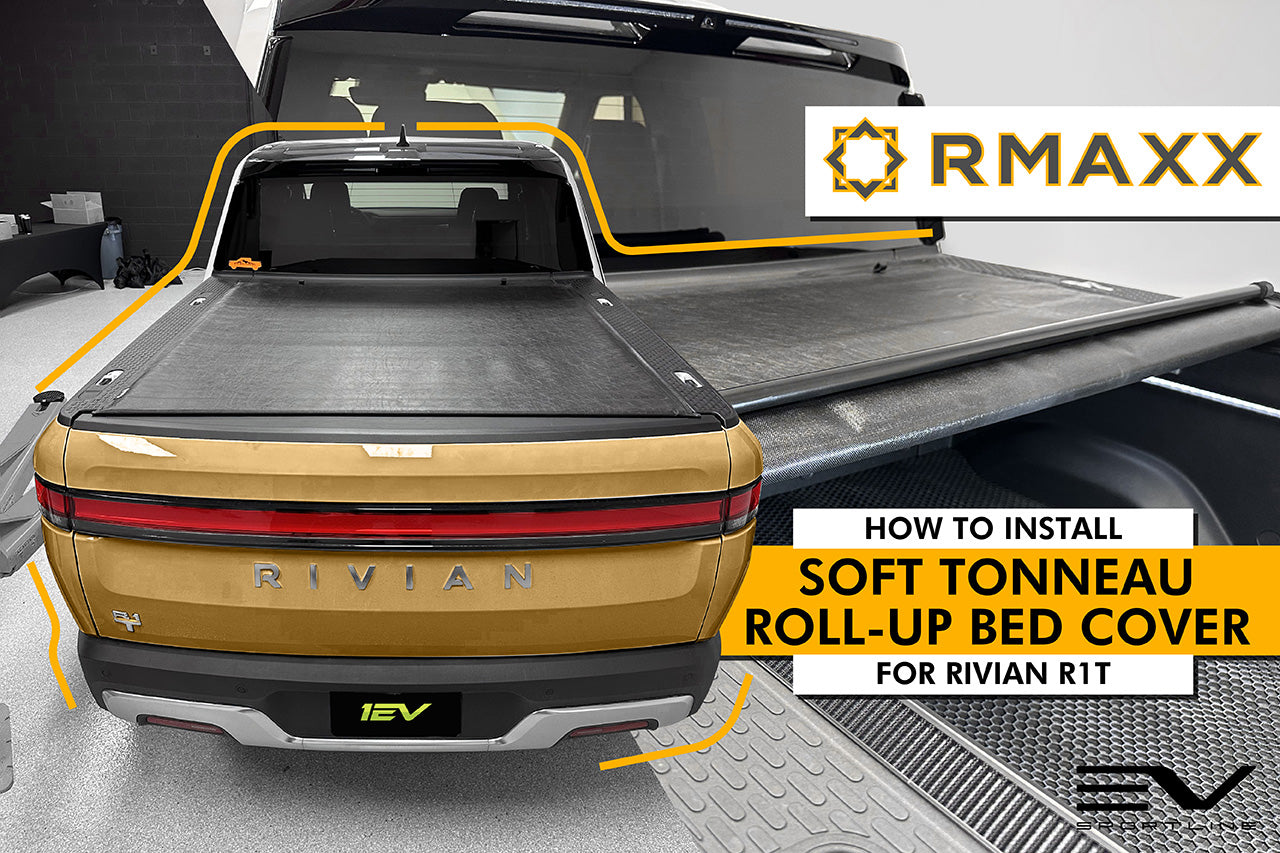
    Rivian R1T Tonneau Cover Installation Guide


    Parts Included: 

    • 1 x Tonneau Cover
    • 6 x Rail Blocks
    • 6 x Side Mount Brackets
    • 6 x Stainless Steel Mounting Bolts 

    Tools Required: 

    • 10mm Socket & Ratchet (or wrench)
    • Standard Screwdriver 
    • Small Pick or Screwdriver  


    PREP:

    Make sure the top of the bed sides and the bed rails are clean and free of dirt or obstruction.  We recommend washing your Rivian before beginning installation.   Put the Rivian in kneel mode to make reaching the bedside easier.  

    Remove the threaded adjuster from the end of each tonneau cover rail using a standard screwdriver.  These threaded adjusters will not be used on the Rivian R1T.  

    RMaxx Tonneau Cover for Rivian R1T


    STEP 1: Carefully pry off the plastic caps at the 6 mounting points along the upper edge of the truck bed, 3 on each bed side. 

    Rivian R1T Tonneau Cover

    STEP 2: Using a 10mm socket, unscrew and remove the 6 factory bolts located underneath the plastic caps previously removed. 

    STEP 3: Insert the 6 rail blocks centered above each of the 6 bolt holes with the lip edge facing down. 

    Rivian Tonneau Cover

    STEP 4: Attach the 6 side mount brackets to the factory bolt holes in the bed sides using the provided bolts.  Only start threading and tighten the bolts a few turns.  Leave the bolts and brackets loose.  3 mounts per bed side. 

    STEP 5: Insert the bottom edge of the side rail between the rail block and side mount bracket.  The Velcro strip should face up and be on the outside edge of the rail. 

    STEP 6: Rotate and align the side mount clamps with the bottom edge of the side rail.  Be sure to hold the rail in place while rotating the clamps so the serrated end of the side mount brackets is touching the serrated face of the rail. Once aligned, snug the bolts so the side mount brackets stay positioned.

    Rivian Tonneau Cover

    STEP 7: From the rear of the rails, push each rail forward towards the cab and confirm that it is loose and moves when pushed.

     REPEAT STEPS 4-7 ON THE OTHER SIDE

    WATCH THIS VIDEO TO EXPLAIN STEPS 8-10:

     STEP 8: Position the Tonneau Cover near the front of the bed, between the side rails.  Position the rectangular base cross bar (attached to Tonneau Cover) flat in between the side rails.  Make sure the clamps on the bottom outer ends of the rectangular base bar are in the unlocked position (see photos)

    Rivian Tonneau Cover
     (Picture showing proper installation of cross bar on side rail, looking down at top of bed)

     Below is the bottom side looking up, the clamp is unlocked to install the cross bar

    Rivian Tonneau Cover

     Be sure that the “seal” on the front bar is tucked into the bed (shown below - view is up, from the bottom, inside the bed)

    Rivian Tonneau Cover

     STEP 9: Push the front cross bar end lock out onto the side rail (bottom side) until it clicks - this will indicate that it is fully engaged. 

    Picture below: Shown with the cover properly locked. The lock clamp requires strong force to slide into the clamped position. Push down on the cross bar and hold the side rail up, while sliding the clamp out to lock in position.

    Rivian Tonneau Cover

     REPEAT WITH THE CLAMP ON OPPOSITE SIDE

     STEP 10: Slowly close the tailgate to secure both side rails into position.   Side rails will push forward slightly and rubber seals will compress. 

     *Check the fitment of the front rail to the bed wall. It should be tight and near flush. If adjustment is required, lower the tailgate and re-align the rails or cover.

     STEP 11: Once the tailgate is closed and side rail fitment is secured; re-align the clamps as needed and re-snug the bolts. 

    (Picture below: showing properly aligned clamp)

    Rivian Tonneau Cover

     REPEAT ON THE OTHER SIDE - ADJUSTING THE CLAMPS AND RE-TIGHTENING BOLTS

     STEP 12: Review the fitment and make sure it is aligned correctly. Tighten all bolts to 8 ft-lbs.DO NOT OVERTIGHTEN BOLTS (repeat for all 6 bolts)

     STEP 13: Open up the tailgate and unroll the Tonneau Cover. 

     When the cover reaches the rear edge - lift the cover up off of the velcro, pull straight back, then let it down making sure it is lined up with the rails. 

     Align the rear cross bar with the side bar guides, rotate the bar down until you hear it lock into place.

     Once locked into place; close the tailgate up and push the edges of the cover down on the Velcro and make sure the cover is tight. 

     The Tonneau cover will now be locked into place when the tailgate is let down.  To unlock the cover, open the tailgate, pull the lever up located on the bottom left side of the cover.

    Rivian Tonneau Cover

    Once unlocked, you can roll the tonneau cover back and secure it with the straps.


    TO REMOVE THE TONNEAU COVER: 

    Unlock the front cross bar by pressing the metal lock tab behind the side lock, pull the lock away from the side rail.  Repeat on opposite bedside. 

    Rivian Tonneau Cover Lock
    (Picture below - shows unlocked)
    Rivian Tonneau Cover Lock

    Unlock the other side; then lift the Tonneau Cover off of the truck.

    THE TONNEAU COVER FITS NICELY IN THE GEAR TUNNEL FOR STORING AWAY. 


    //